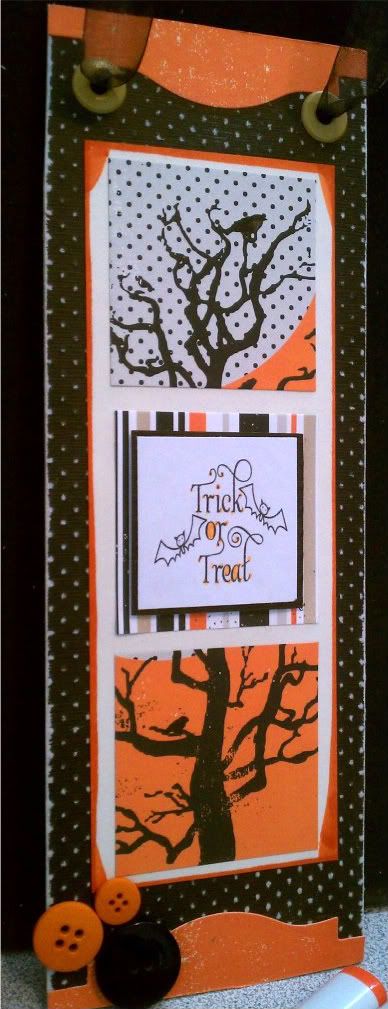
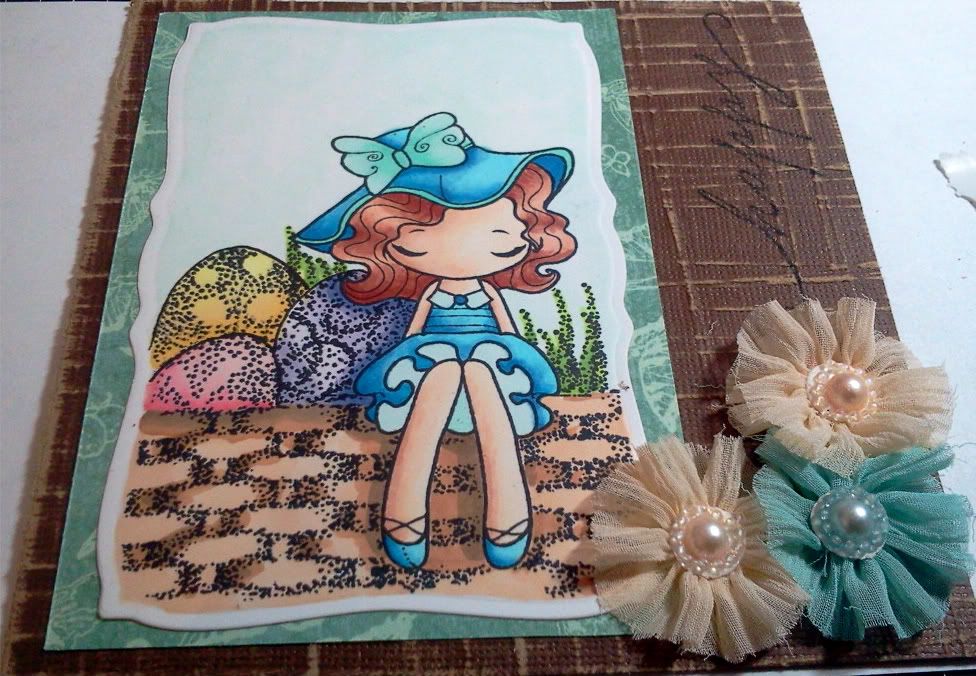
I started with an inspiration from the Sept/Oct issue of PaperCrafts Magazine (from page 60 if you have it). I loved the idea of a holiday door or wall hanger. My project ended up being 12" tall by 4" wide if you want to make one of your own.
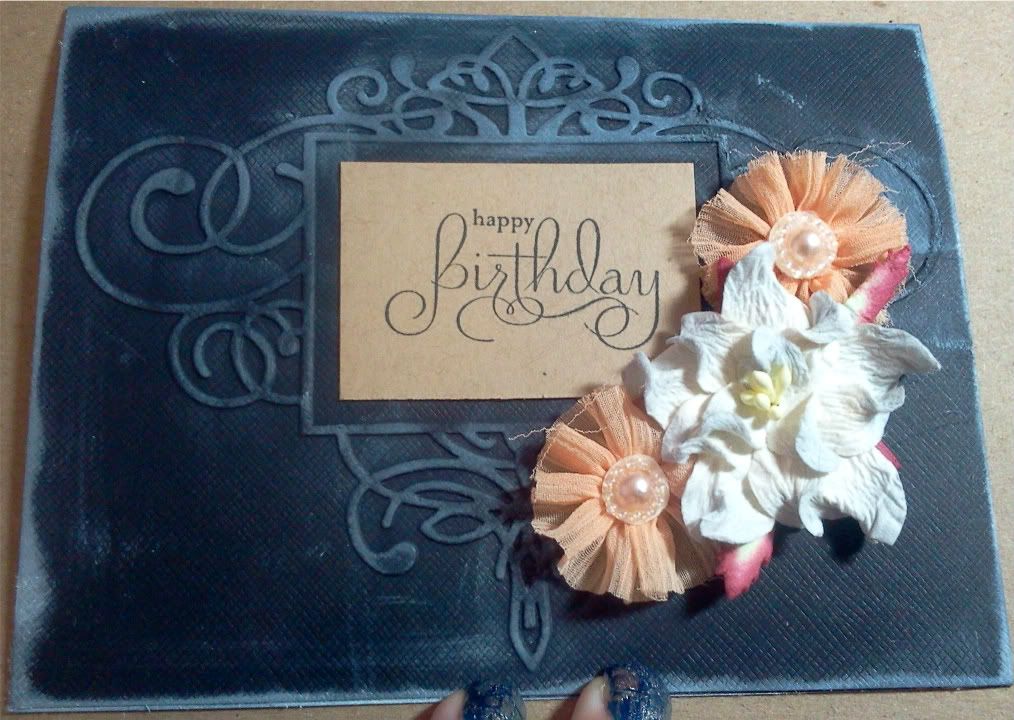
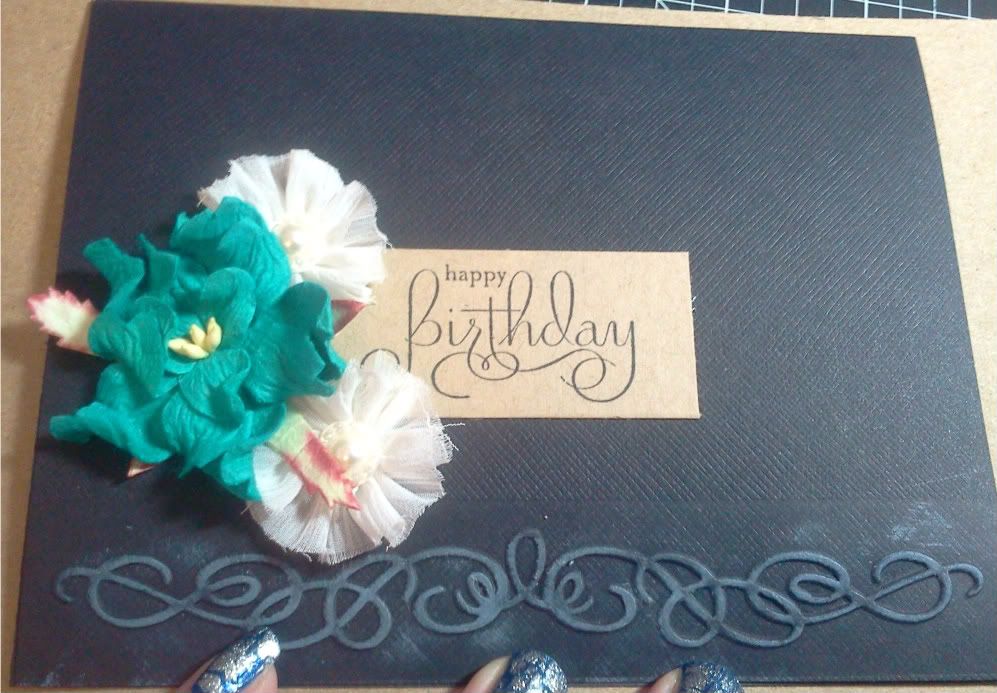
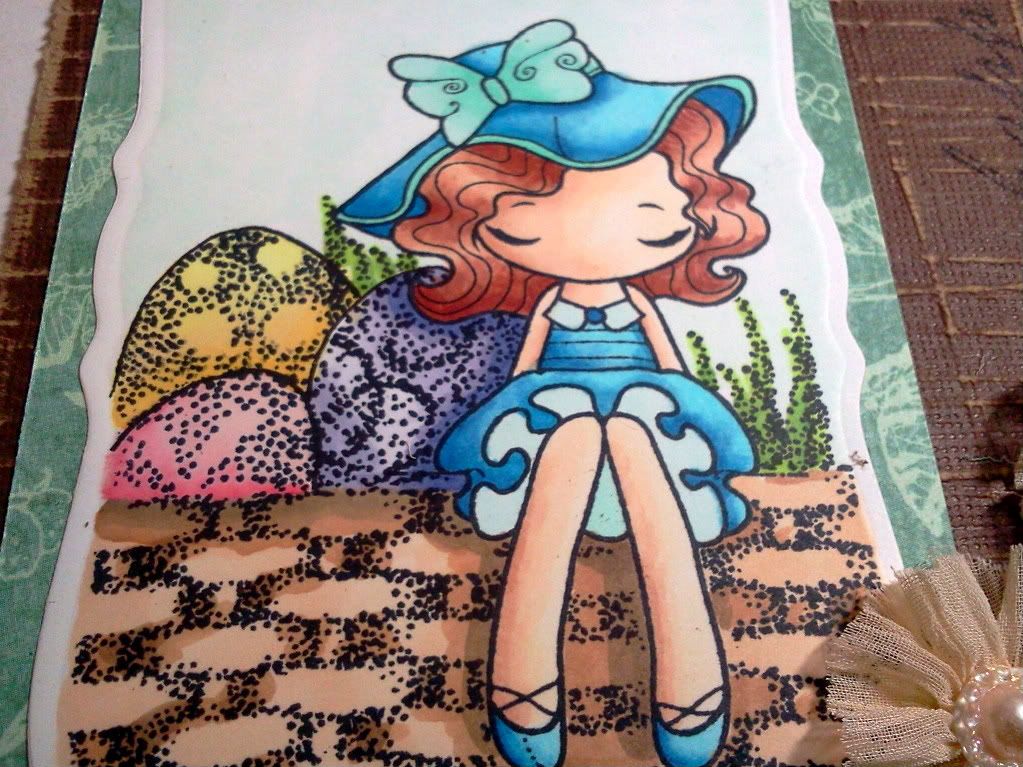
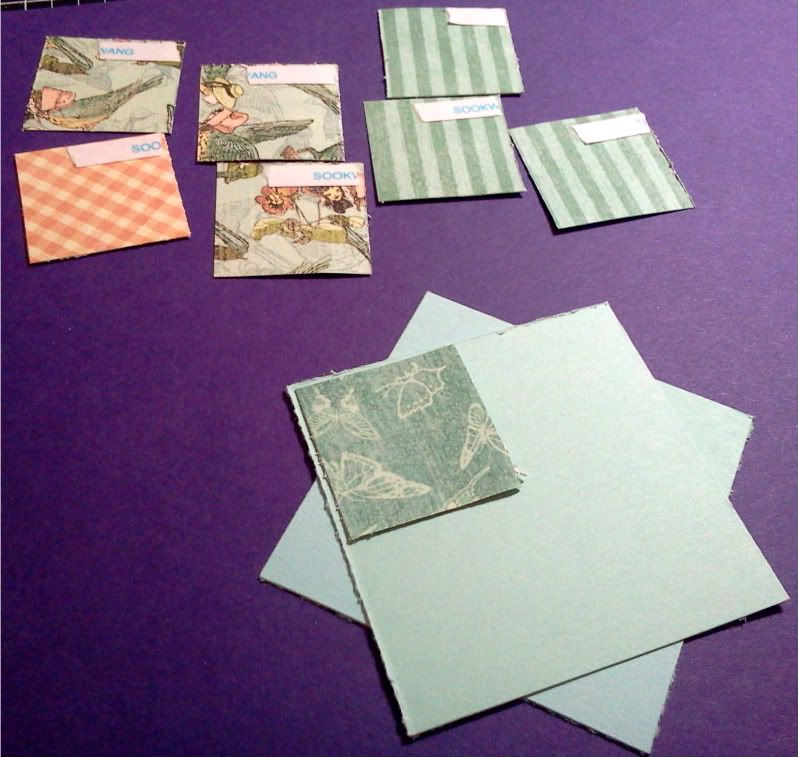
I took the cardboard from some empty cereal boxes and double layered for extra thickness. I than cut some black paper from the Bazzill Dotted Swiss Pack and filed it down to make the dots pop. Using my Spellbinders Labels 18, I cut out the largest shape on a sheet of orange paper from my Echo Park Apothecary paper pack. I trimmed off the edges and added it to the top and bottom of my hanger.
I took the cardboard from some empty cereal boxes and double layered for extra thickness. I than cut some black paper from the Bazzill Dotted Swiss Pack and filed it down to make the dots pop. Using my Spellbinders Labels 18, I cut out the largest shape on a sheet of orange paper from my Echo Park Apothecary paper pack. I trimmed off the edges and added it to the top and bottom of my hanger.
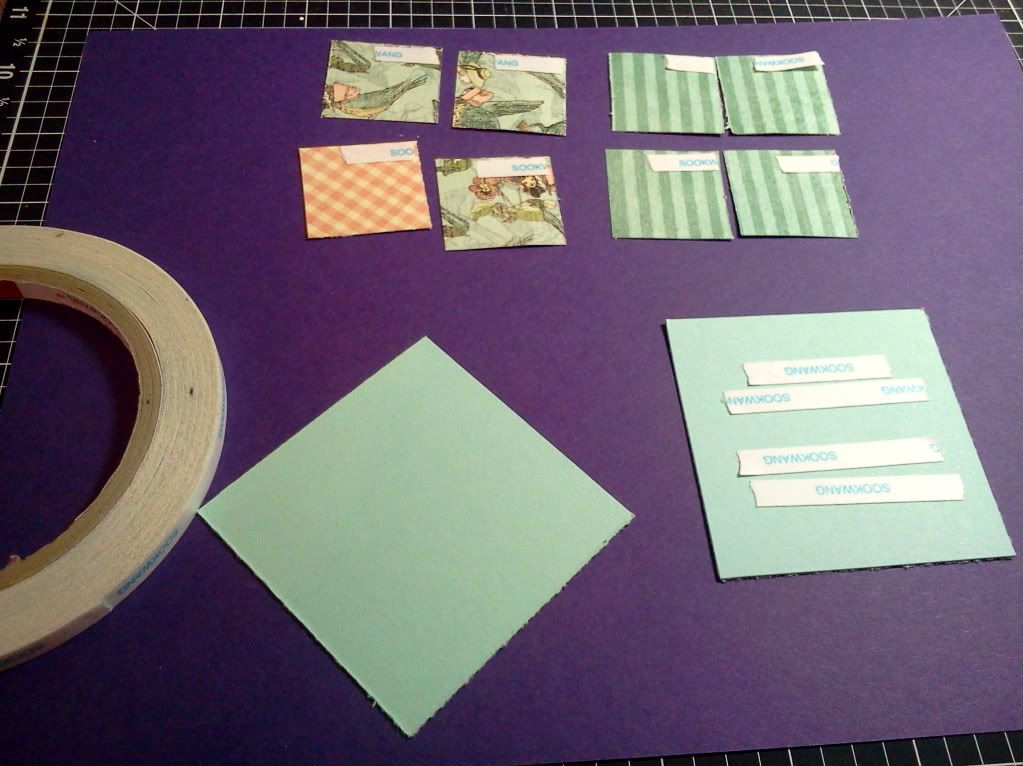
 I took a cream piece of paper from my stash and traced the edges of it with my copic YR18 for some added pop and added 3 squares of paper from the Echo Park Apothecary pack. I added holes and eyelets with my big bite as the thickness of the cardboard and paper made it a little difficult with my cropadile.
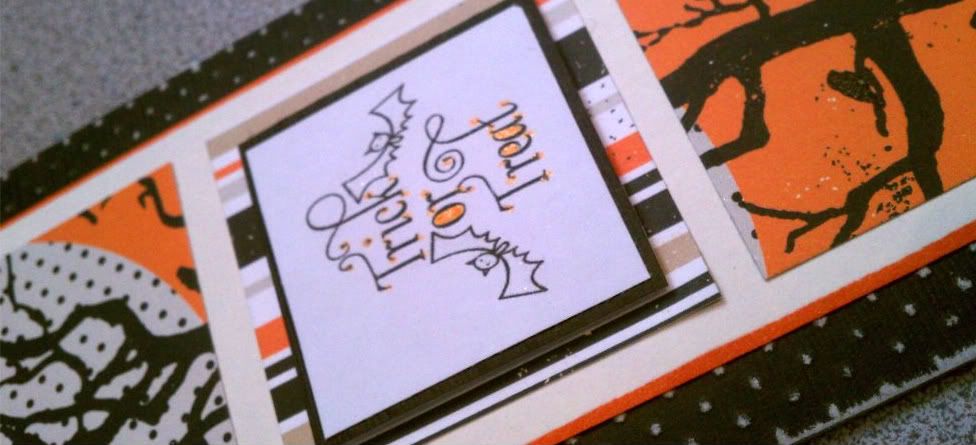
 Then for extra, I went over the sentiment with my Spicas and the birds in the trees.
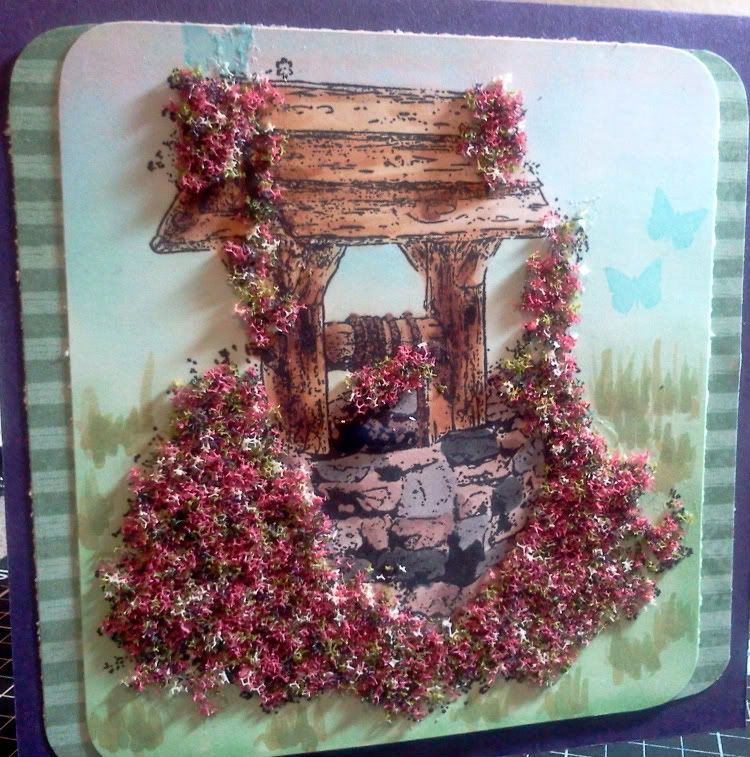
Hope you like it!!
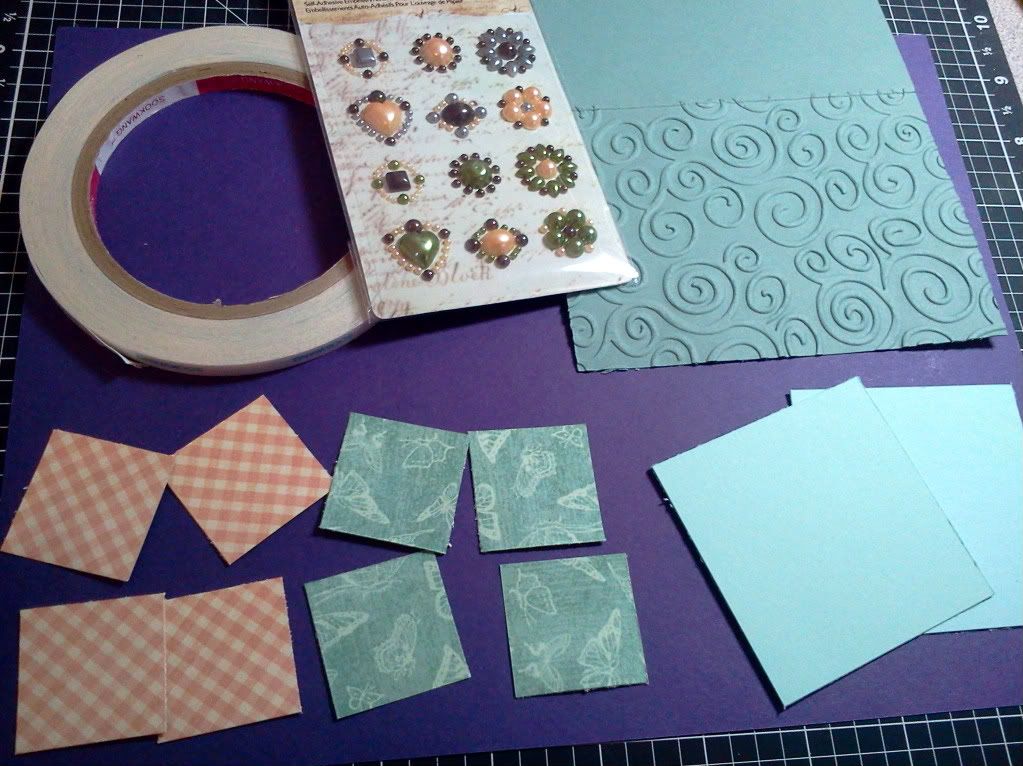
Embellishments: Spellbinders Labels 18,Other: ATG, Big Shot, File Set, Kool TAC, Big Bite, Scor-Tape
Stash: buttons, ribbon, eyelets, cardboard, cream paper


