Sunday, February 21, 2010

Simple Stories Blog Hop!!

So, Memory Works is having a blog hop!  If you would like to start at the beginning, please go to the Memory Works blog here.  **hint, hint**  there are some cool prizes!

Now on to the Project!!                           **Warning:  TONS of pics :o)

So to start off here are the supplies I used:
MW Products Used:

 Tim Holtz Distress Ink -Vintage Photo Tim Holtz Sanding Grip
 Simple Stories Kit
 Simple Stories Coordinating Cardstock
 We R Memory Keepers Sheet Protectors
 Mini Glue Dots
 American Crafts Black Slick Writers

Non-MW Products Used:
 Mini Book Pattern from Paperthreads
 Twine for binding the mini book -from my stash
 Green Ribbon -from my stash
 Embossing Folders
 Sizzix Big Shot


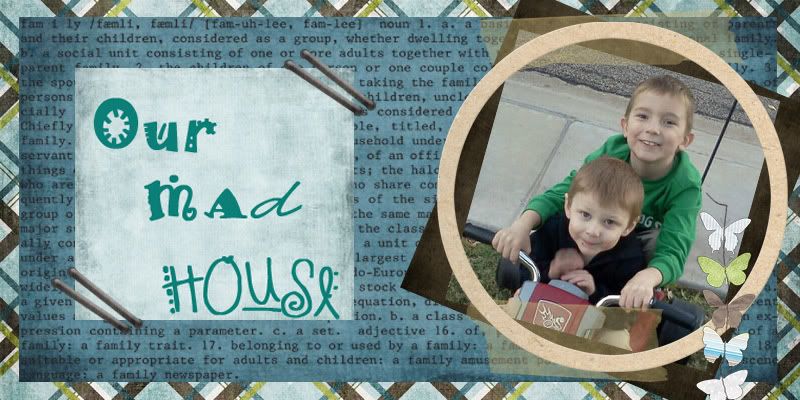
So I decided I was going to create a quick layout of my son's first birthday.  Then, reading through my daily blogs, I found the PERFECT mini album to compliment the page from the Paperthreads Forum.  PLUS, with the Simple Stories Kit, the sheet protectors are divided!  The mini album would fit PERFECTLY into one of the sleeves.  Love it!!  Here is the end product: 

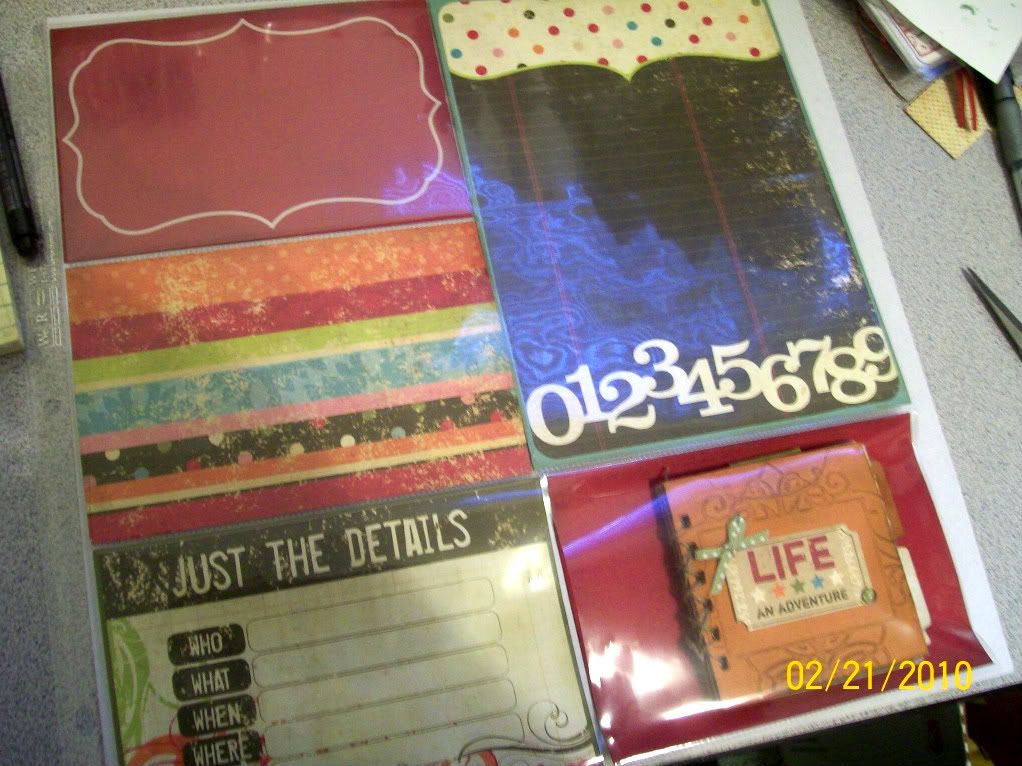
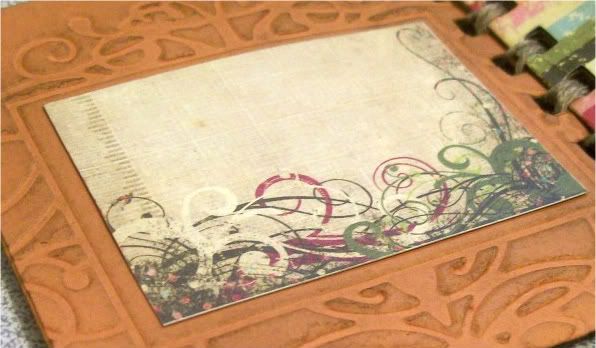
For the three 4x6 slots on the left, I simply cut them from the Simple Stories Patterned Paper and Coordinating Cardstock.  The bottom piece to line the "Just the Details" and the right piece to line the Patterned Paper to give a more finished look.  Don't you just LOVE these colors!!  They are so bright and cheery but also versatile as they can be used for boy or girl pages.  I placed another 4x6 paper for the background of the mini album.

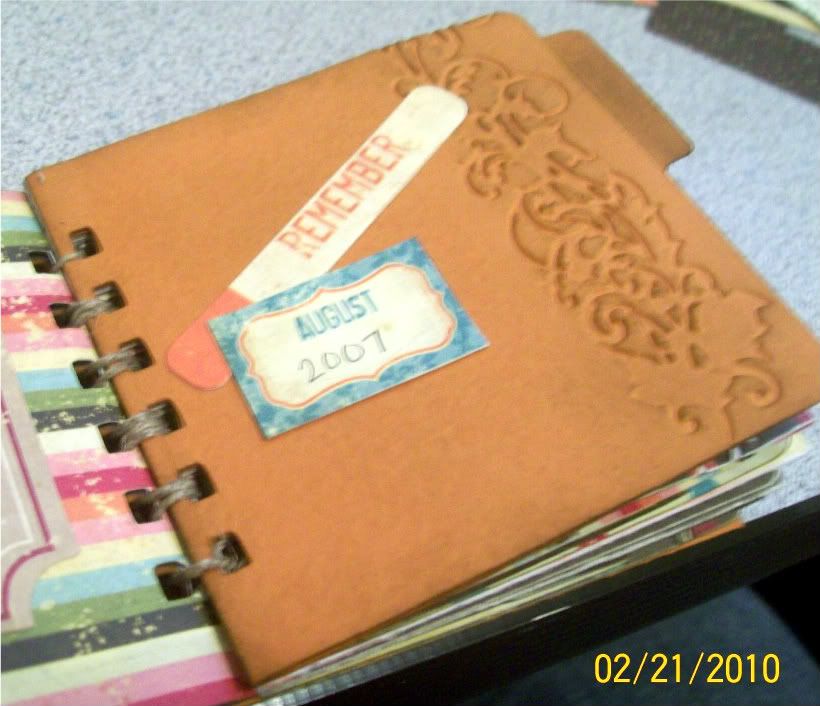
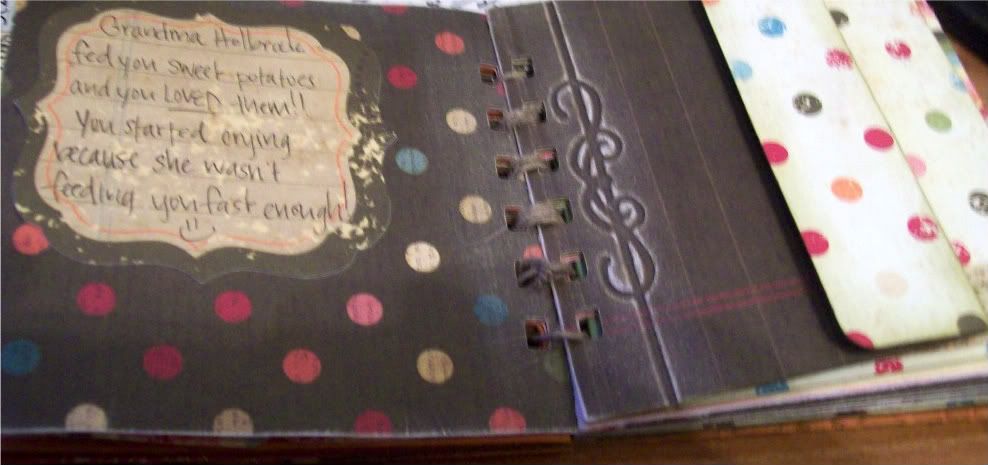
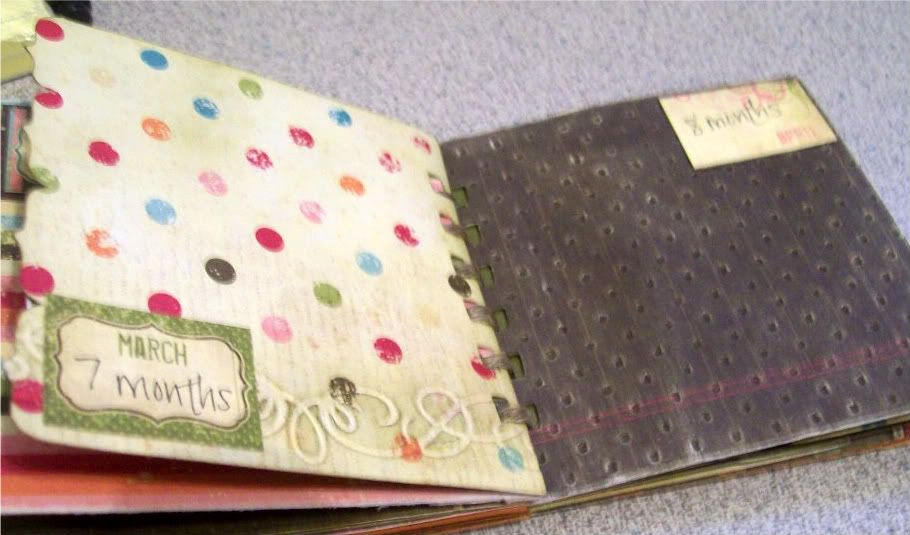
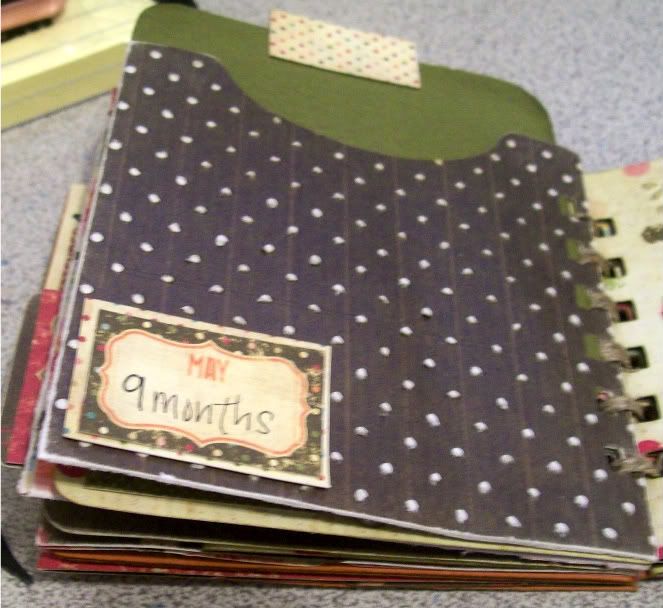
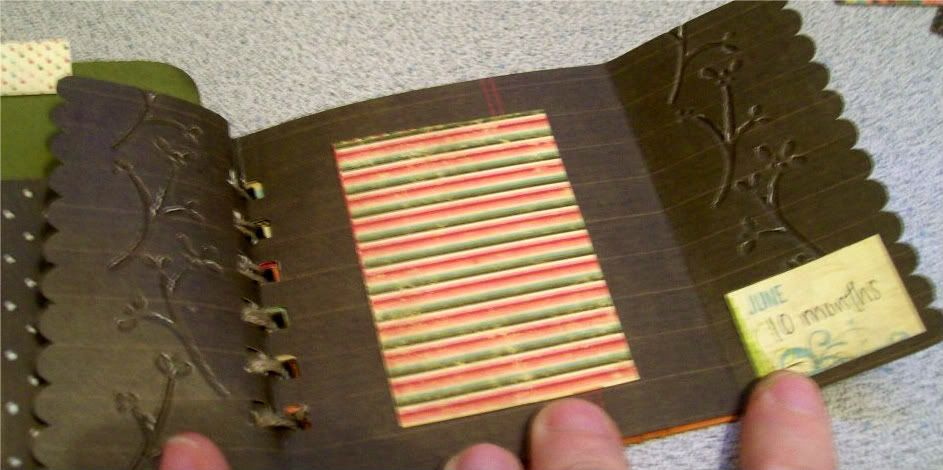
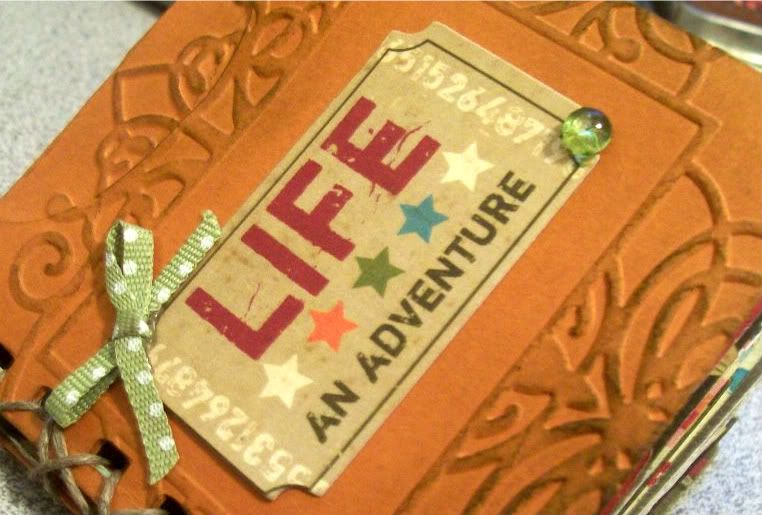
Now for the Mini Album, I cut out the pages using my nifty Cricut and Make The Cut software - -so quick and time saving! Orange just seemed like a good color for a little boy and the title from the Simple Stories Stickers was PERFECT for my little boy! (if you have been following my blog, this is the same little boy who stripped my Christmas Tree this year and thought it was hilarious!  *sigh*)  Anywho, I ran several of the pages through my Big Shot with an embossing folder and sponged and sanded the ebossed image to add texture to the pages.  I used some Twine I had laying around to bind the book to keep it "macho".  I just love how cute this turned out!

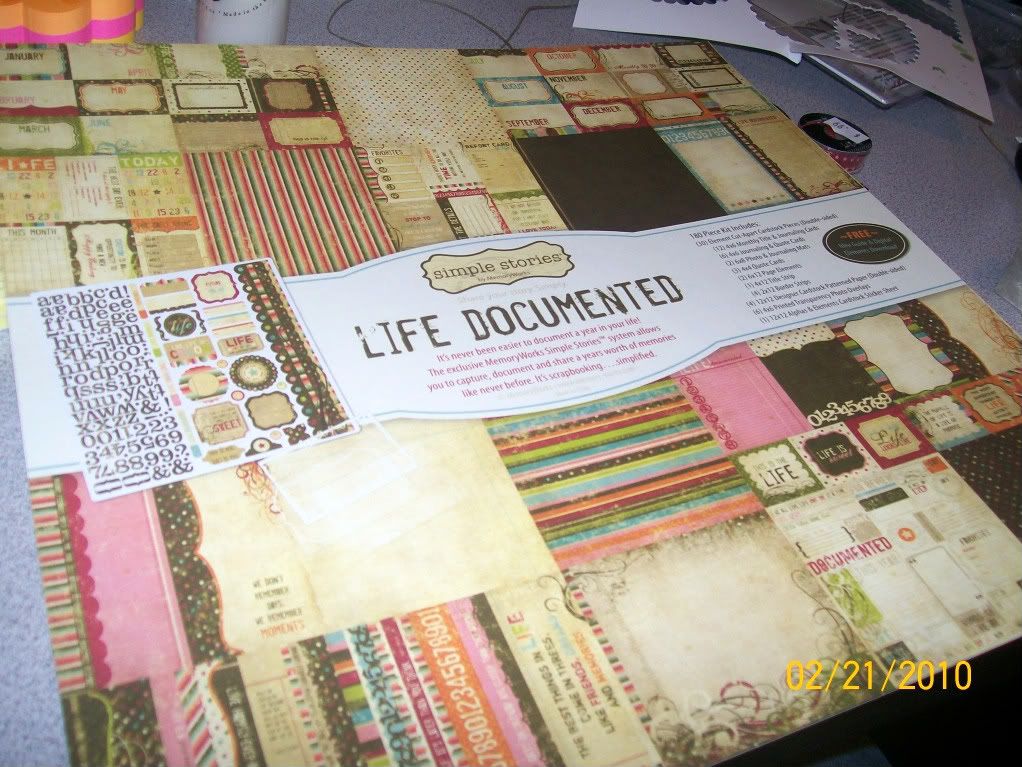
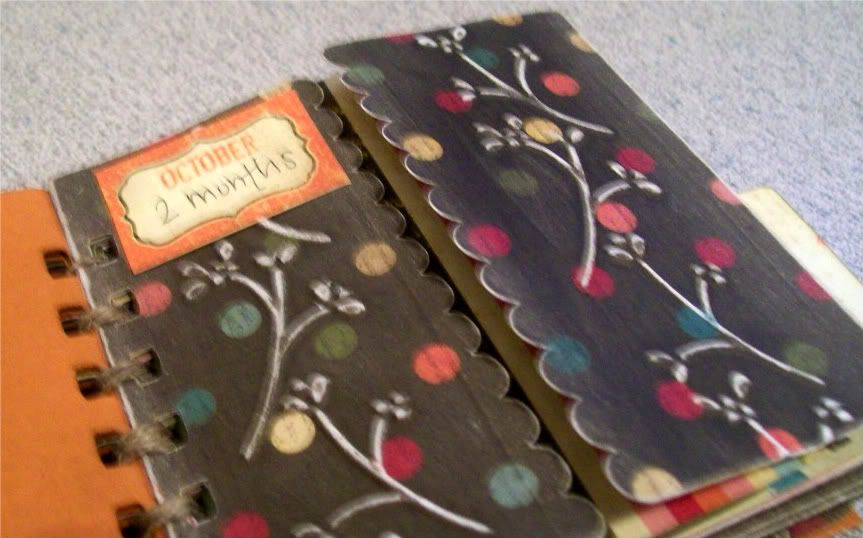
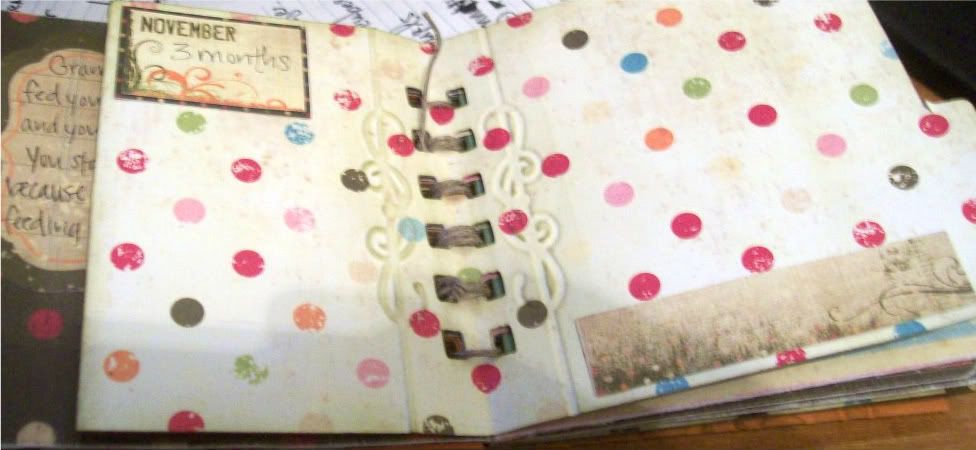
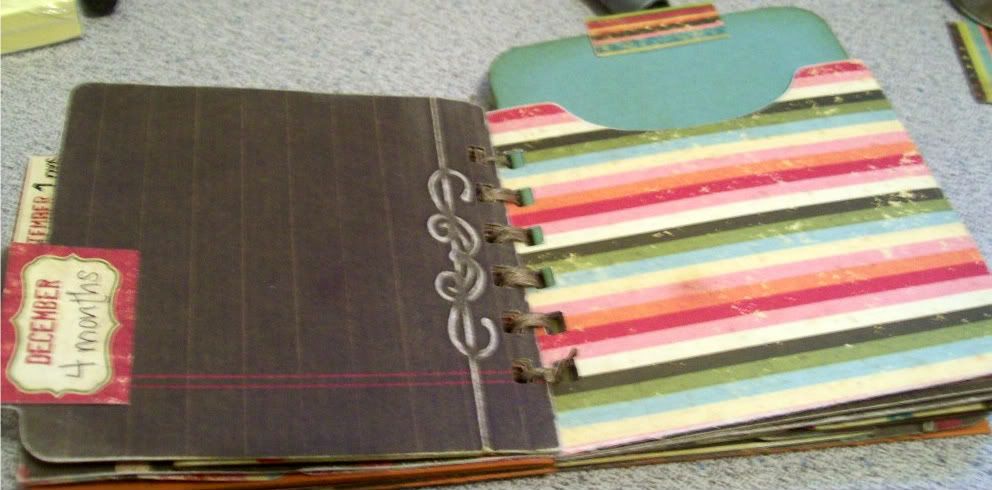
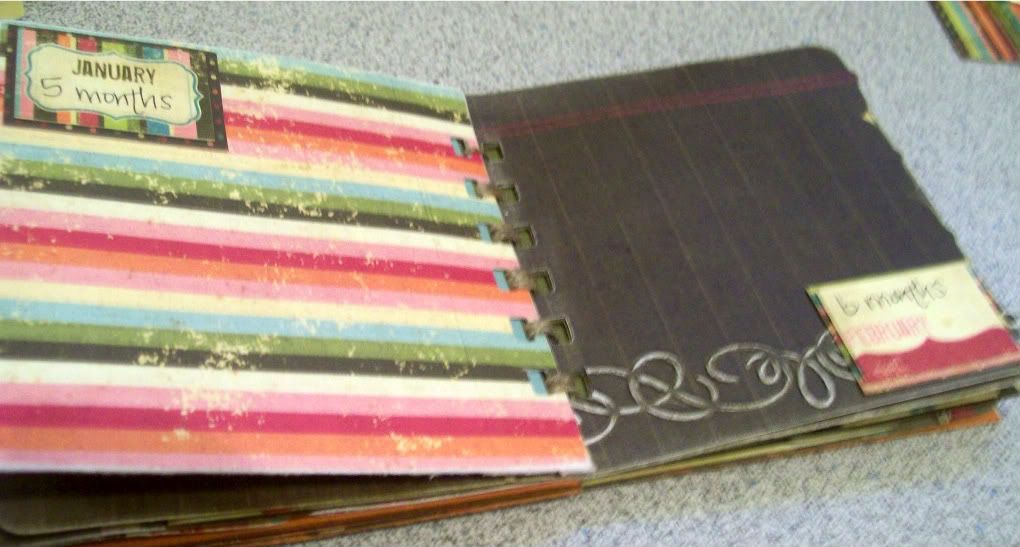
The rest of the pages I am posting little journaling tidbits and pictures from his 1st year leading up to his birthday.  Even though he has TONS of pictures, I thought this would be a cool refresher for him to look through when he is older.  Plus it is another fantastic way to use this wonderful kit!  Now before I get to the rest of the album, I am going to show you just how frugal I have become!  The front of the packaging for the Simple Stories Kit highlights the pages in the kit in miniature.  It even shows the months in miniature! 

So to help embellish my pages I actually cut out the little "pages" and used them!  This page is the same thickness as the 12x12 patterned papers so it looks like it fits in perfectly! How cool is that!  It looks great on my pages!


 So onto the remaining pages.  They are all in order.  Enjoy!


Wheew!!   Told you there were a lot of pictures! 


Now all I have to do is print and add on the photos and he is done!!  I'm only a year and a half late :o)  Hope you enjoyed and don't forget to take a look at Rhonda's design next!

Now on to the rest of the hop!

Memory Works

Christina

Lacey

Jennifer

Sue F

Melissa  < --you are here!

Rhonda  < --  go here next :o)

Luisa

Liz

Wendy

Danielle

What Ive Been Up To

So I decided I would share a couple of pics of what I have been upto lately.

We had a bunch of birthdays this month so I made a card for each of them and for family that is local, i also made some unique gift packaging.  All of the templates can be found at My Time Made Easy.  This is Lauren Meader's new store - -I LOVE her products.  I have been using her stuff since she was designing for Paper Trey Ink.  Plus, all of her templates at her store can be ordered as cutting files for your die cut machines.  Yeah Baby!!  So anyways, here are the pics. 

Enjoy!!


Saturday, February 20, 2010

Simple Card with COPICS!!

So, I LOVE, LOVE, LOVE Treasure Box Designs cut files.  I think I actually own every file out right now too!  Plus, a freebie cut file is available every Tuesday.  And, Dina has tutorials on how to get the shading and eyes just right for paper piecing.  Can it get any better than that? 

Then, I received notice that Digi Stamps are coming soon!!!  Oh My Gosh!!!!!  I think I have just died and gone to heaven!  I emailed right away loving the chance to get a sneak peak of these babies.  And guess what!  I get to make a card sample with one!! 
**Doing my little happy dance right now!**

So without further ado . . . . . . here is a sneak peak of the new Digi's from Treasure Box Design.

I worked with the Chick and the Egg.  An adorable image that is just begging to be colored with my copics!  And made me think that I should learn how to use the copic airbrushing for some awesome backgrounds!  I used a card sketch from Paperthreads Forums and paper from the Memory-Works Simple Stories Kit - -LOVE these colors!  Plus, I discovered how truly wonderful Prism paper cuts on my Cricut - -like Butter!!  Much cleaner cuts than I have been experiencing with my much used Bazzill.  Hmmmm, something to think about . . . . . . .

I colored the image with my Copic markers ..... forgot one in the pic **hehehe** T01. 

What was cool with this image too, I didn't need to use a ton of colors to shade.  My Colorless Blender was Eggs-elent *hehehe* and let me do a lot of "shading".  Distressed the card, layers and edge of chick with Nick Bantock Van Dyke Brown. 

And then assembled the card.  Easy, peasy.  The whole card took me maybe 35 minutes - -this is a record for me!  I LOVE to detail my cards and projects and this just looked so darn cute the way it turned out!  Please let me know what you think and be sure to go to TBD or the TBD Blog and sign up for the newsletter to get new updates on when the Digi's will be available!

Some Sad News

After much debate, I have decided that February 28th will be my last day as a Scentsy Independent Consultant. With the economy how it is and recent pay cuts with mine and my husband's employers, I can no longer sell the product I love due to lack of time and lack of funds. If, like me, you are still a die hard Scentsy fan, I know some wonderful consultants in the area that would be more than helpful in providing service to each of you. I am so sad to part with this company as it is a wonderful company that is supportive and fun. And Growing!! There is still so much more this company has to offer and I am truly hoping I can be a part of it again in the future.


I am liquidating all of my inventory, product and supplies (for my fellow consultants), as I will no longer be able to sell it. Please contact me if you are interested in any product I may have at misscent@gmail.com

Thank you so much for your business and I hope to maintain all of the many wonderful and supportive friendships I have made in this Scentsy endeavor.

Melissa

Sunday, February 7, 2010

Surfing Again . .

So I should totally be working on my Grandma's birthday gift but I got distracted (again) by the internet.  I swear it calls my name!  Anywho, have you checked out Mel Stampz?  I LOVE her blog!  She had this amazing tutorial yesterday (and today!) for a shabby chic wedding card.  Check this baby out!
 
Don't you just LOVE this!  And, she totally tells you how to make it! GO, now, she has soooooooo many things to share!

BTW, I will be sharing MANY pics tomorrow of the Birthday gifts I made for family this weekend!

Friday, February 5, 2010

Just playing around . . . . .

Found this cool site to play with a stick family:


Stick Figure Family at FreeFlashToys.com
Make your Stick Figure Family at FreeFlashToys.com


Kinda fun!  At least in the "stick" world my boys look EXACTLY like their daddy - -which is true in real life too!  THe dogs . .well maybe I'll make another post about that one as it is in the works.

Off to make Birthday gifts - -will post pics later!