Showing posts with label Scor-Tape. Show all posts

Sunday, October 30, 2011

Halloween Door Hanger

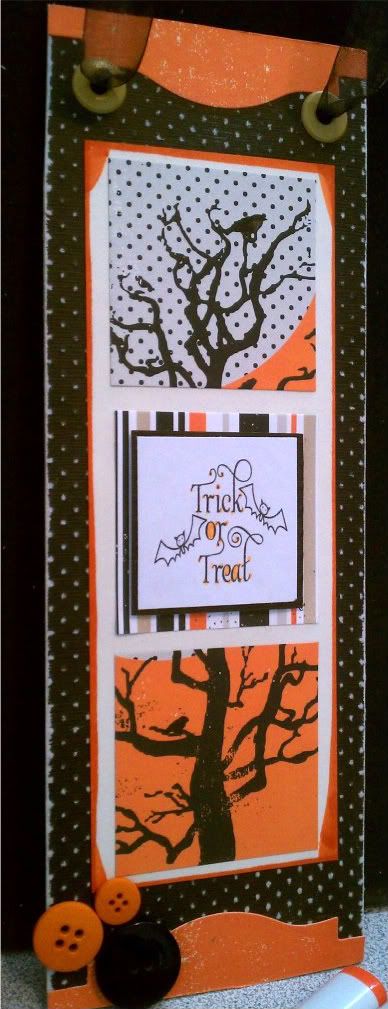
I started with an inspiration from the Sept/Oct issue of PaperCrafts Magazine (from page 60 if you have it).  I loved the idea of a holiday door or wall hanger.  My project ended up being 12" tall by 4" wide if you want to make one of your own. 

I took the cardboard from some empty cereal boxes and double layered for extra thickness.  I than cut some black paper from the Bazzill Dotted Swiss Pack and filed it down to make the dots pop.  Using my Spellbinders Labels 18, I cut out the largest shape on a sheet of orange paper from my Echo Park Apothecary paper pack.  I trimmed off the edges and added it to the top and bottom of my hanger.
I took a cream piece of paper from my stash and traced the edges of it with my copic YR18 for some added pop and added 3 squares of paper from the Echo Park Apothecary pack.  I added holes and eyelets with my big bite as the thickness of the cardboard and paper made it a little difficult with my cropadile. 

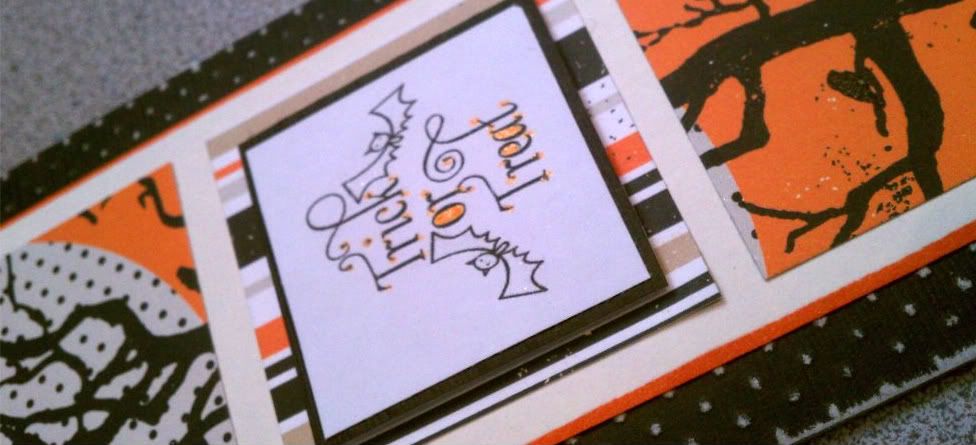
I added buttons from my stash and colored some white ribbon with my Copic 110 to add some black.  I printed the sentiment for free from here, trimmed and lined it with some left over black paper and used Kool Tak to make the sentiment pop up.

Then for extra, I went over the sentiment with my Spicas and the birds in the trees.

Hope you like it!! 
Embellishments: Spellbinders Labels 18,
Other: ATG, Big Shot, File Set, Kool TAC, Big Bite, Scor-Tape
Stash: buttons, ribbon, eyelets, cardboard, cream paper


Photobucket

Monday, July 18, 2011

Copic Portfolio

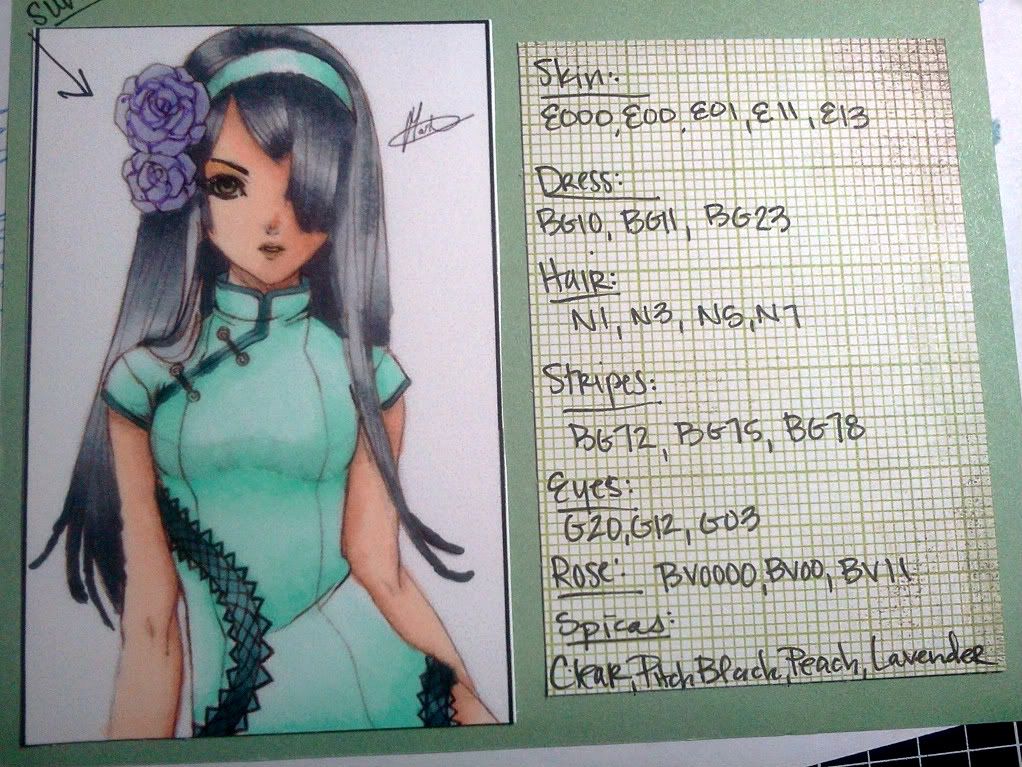
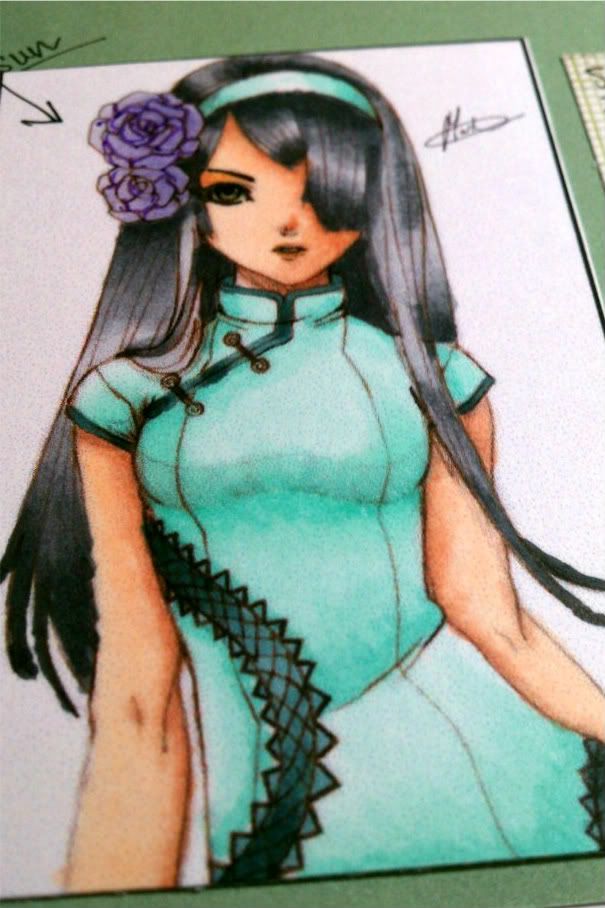
So I decided to update my Copic Portfolio with an image I used quite a bit by *Princess Elemmiriel.  Using my copics I colored my image focusing on lighting.  I have the sun coming from the upper right, so the shadows would be on the right of the body and more specific areas like where her waist is bent, the arm slightly covered by her dress, where her hair covers her face and dress, her nose, and what would not be hit directly by the light.


Definitely one of my favorite images to color.  The main reason I put this image in my portfolio is because of the size.  Usually when I color this image, I tend to use a larger version and the card ends up around 5x7.  This image was printed at 2x3 so it was a challenge to color with the shading at so small a size.  I really like how it turned out.                                                                                                                        Are you working on a portfolio?  It is a good reference tool and it helps you have a comparison of how much your coloring has progressed from when you start.  It is also a good way to keep track of favorite color combos, techniques and samples you have made.  I tend to color two of every image I use as it helps me practice in a way, but also I can get two cards done at once but that also can turn out so differently from one another.

thanks for looking!


Photobucket

Ink: Memento Tuxedo Black, Copics, Copic Multiliner
Embellishments:
Other: ATG,
Stash: green paper

Wednesday, May 18, 2011

Anime Card

So today, I wanted to show some really simple, lovely cards I made using one of the oriental weave embossing folders from Cuttlebug.  I was trying to think of an image that would compliment the embossing folder.  So I went to my favorite site for anime images; http://www.deviantart.com/

I LOVE this site.  One of my favorite artists is Princess Elemmiriel.  She has the most gorgeous line art to color.  I chose Lady Rose Dragon . . . I can't tell you how many cards and miscellaneous items I have made with this image in particular.  So while I waited for my printer ink to dry - -you can never wait too long - -I embossed a beautiful Jade Green and a Silver Gray paper from Core'dinations Gemstone pack with my oriental weave embossing folder.  I would highly recommend this paper as well!   I centered them on some back cardstock from my stash and started coloring my images.  Bytheway, these cards are the standard A2 size :o)

So I tried to stay with complimentary colors to the papers I chose.  You don't have to use all the colors I did to get the same effect; I just started tossing in colors while I was playing.  I really tried for a dramatic look with the eyes and lined them with a multiliner and with spicas.  What do you think?


Hair: YR000, E50, E21, E11, E97, E99, E37, E29

Skin: E50, E00, E21
Eyes: G20, YG11, YG17
Makeup: R12, R02, R32, Pitch Black Spica, Peach, Clear
Hairband/Trim: Y32, Y35, Y17
Dress: BG10, BG11, BG23, BG13
Flowers: RV02, R12, R02, R32, R35
Shadows: C00, C1


Hair: C00, C1, C2, C4, N4, N6, N9, 0- Blender
Skin: E50, YR000, E00, YR01
Eyes: G20, YG11, YG17
Makeup: R12, RV91, RV93, Pitch Black Spica, Peach, Clear, Silver
Hairband/Trim: N1, N4, N6
Dress: BG10, BG11, BG23, BG13, BG45
Flowers: BV0000, BV00, BV02
Shadows: C00, C1


thanks for looking!!!
Photobucket


Paper: Bazzill Simply Smooth, Core'dination Gemstone,
Embellishments: Liquid Pearls
Stash: Black Cardstock

Sunday, March 20, 2011

Pinwheel Card

So today I am sharing a super easy card with no stamping involved; took me less than 10 minutes from start to finish!  You absolutely have to try this!  It is simple and quick for mass production or just a quick card on the go.  I got the idea from my good friend KellyRae.  She got it from here (video included).


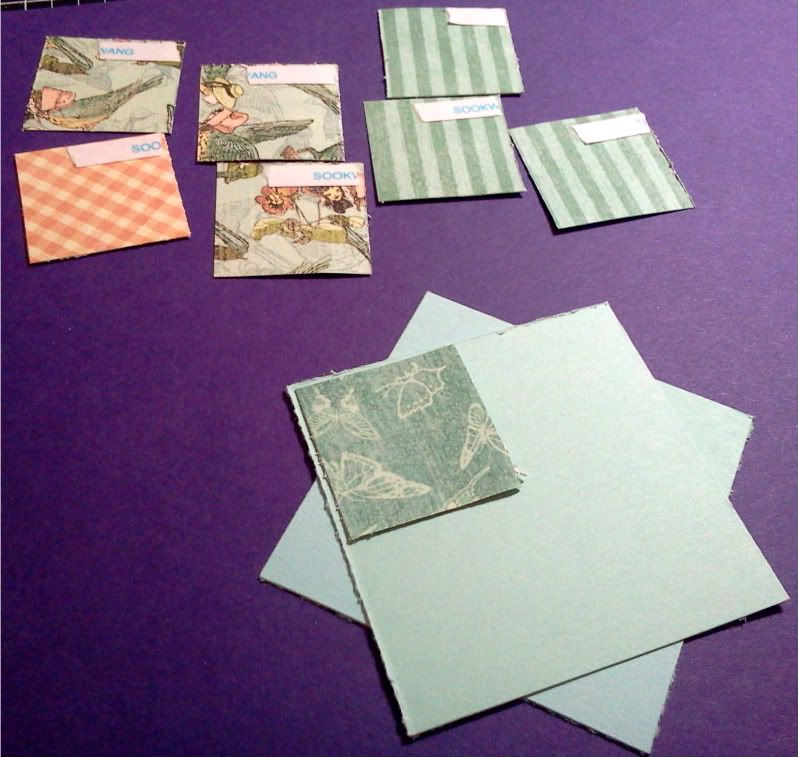
Here is what I started with:
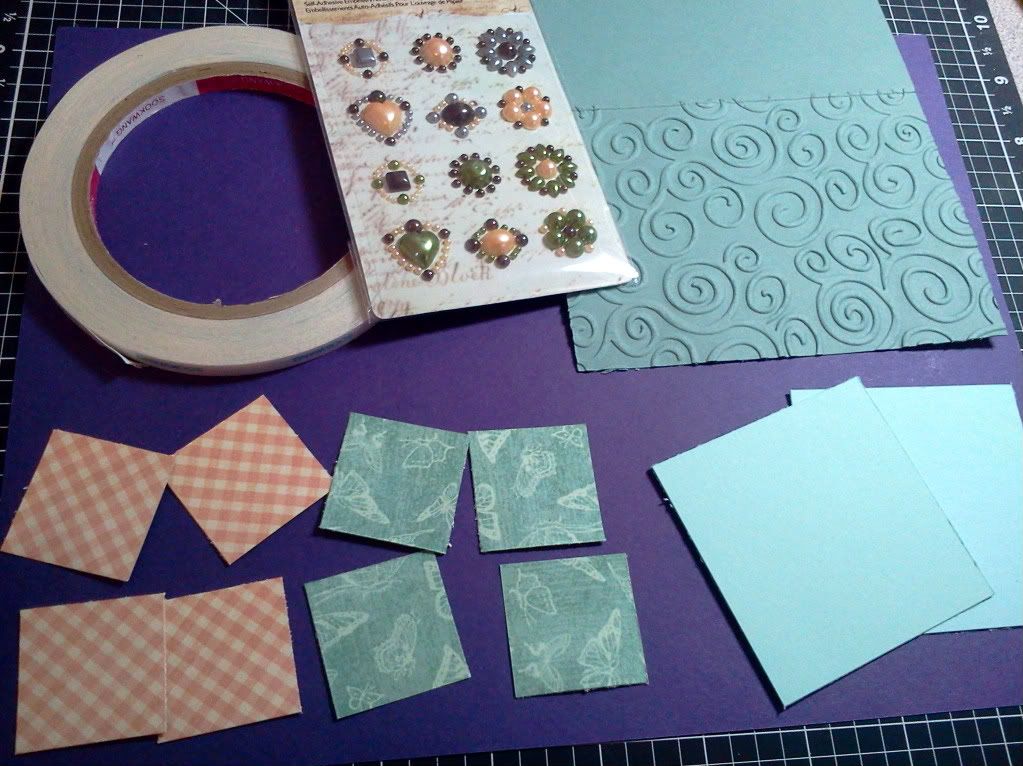
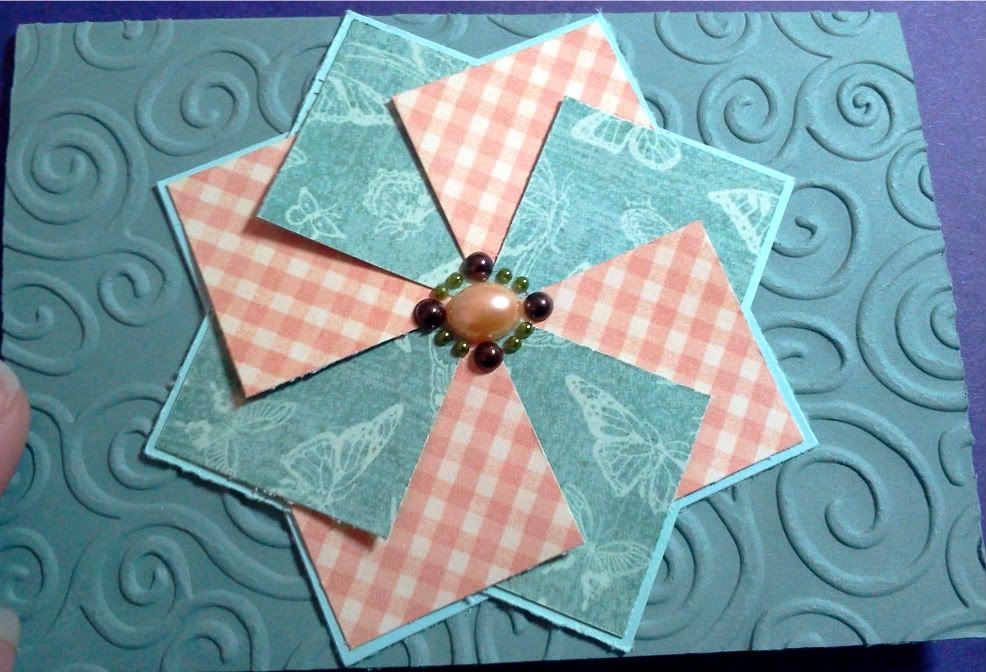
A base card of 3.5" x 5" -slightly smaller than the standard A2 card already run through my big shot with the Swirls Embossing Folder.
8- 1 1/4" squares in two different patterns
2- 2 5/8" squares as my base
Embellishment -Prima Say It In Pearls
1/4" Scor Tape


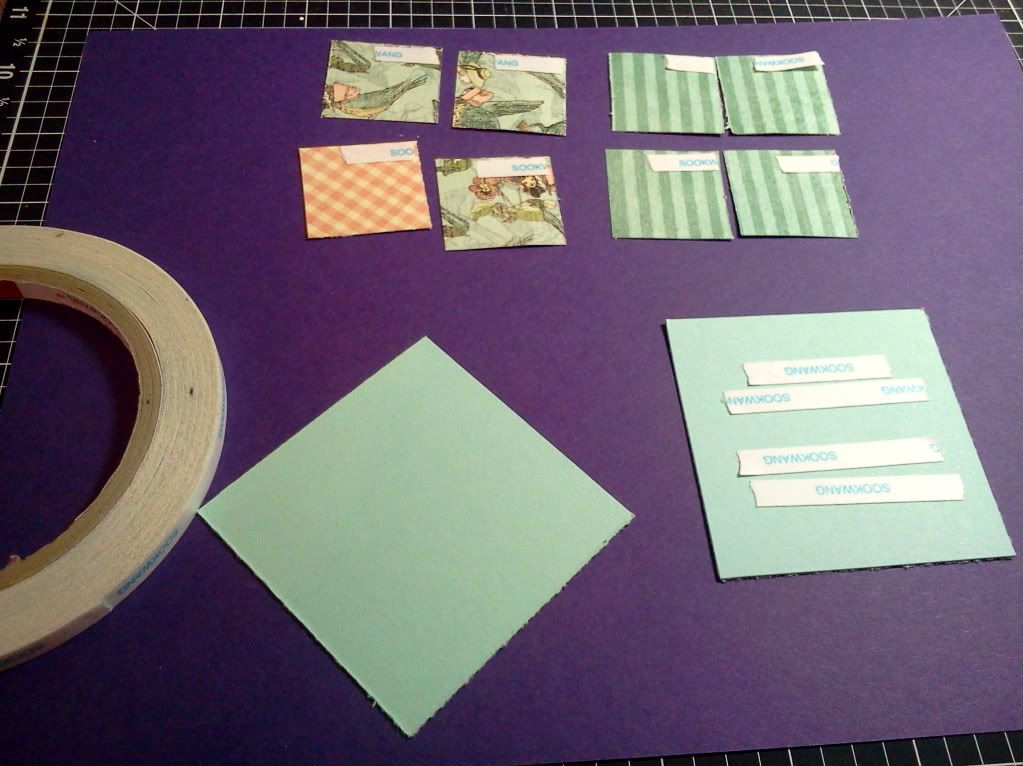
Start with putting your adhesive on the papers; make sure the tape goes in the same corner for the 1 1/4" squares on the back side of the paper.  As you can see in my pic, I didn't follow the steps on the first try :o)

Next add tape to one 2 5/8" square and place the other square across it, twisted.


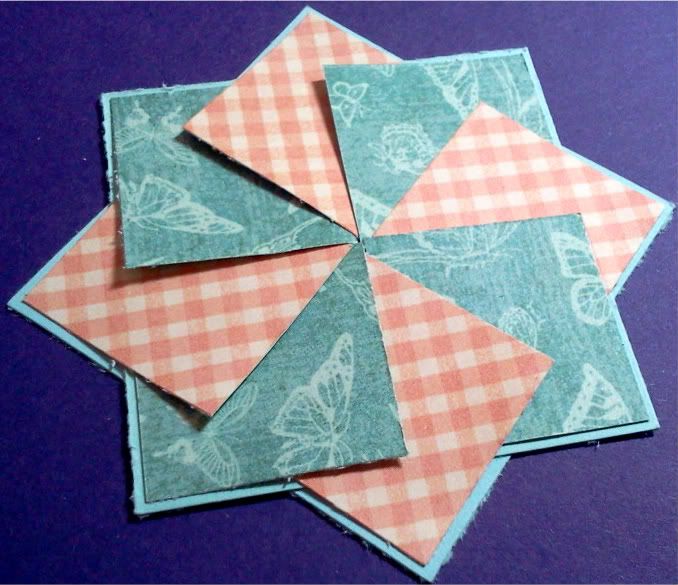
Now add your first square.  The rest is easy!  Just alternate the color or pattern papers aligning it with the corner of the base card stock.  For the last piece, you simply lift the edge of the first piece you laid down and work the last piece in so it is layered.  Very, very easy to do.

And here is the end result of the layering.  Hmm, I think I need to change my trimmer blades . . . . .


I than added an embellishment in the center and used Scor-Tape again to adhere it to the card base.  I chose the smaller card base of 3 1/2" x 5" as I wanted the Pinwheel to dominate the card front so all of my stamping can be on the inside.  Think it worked?


Photobucket


Stamps: none!
Ink: none!
Other: Scor-Tape, Paper Trimmer