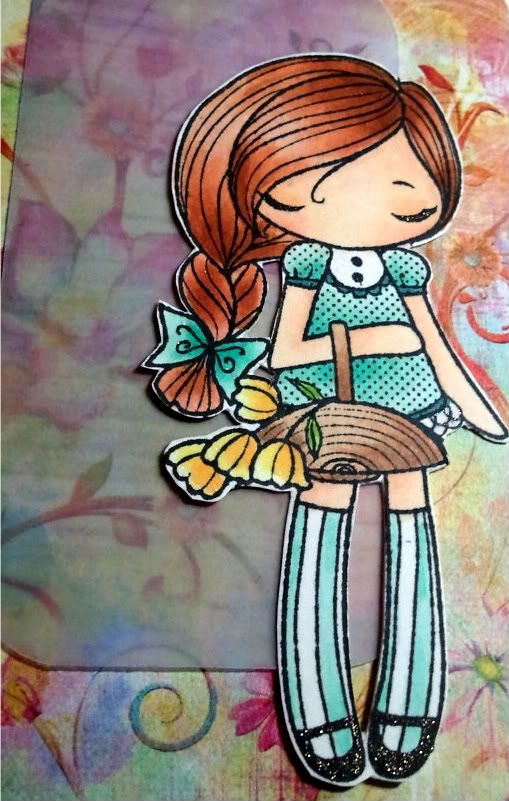
So I wanted to share with you how I color my images. I am using an image from The Greeting Farm, Miss Anya Collection. I LOVE these images. They are so versatile and adorable! Usually I use the feathering technique when I color hair, but because the image is so detailed I will just blend the colors today. I am also using my favorite color combinations today so you may see them a lot on my projects. This project can also be found on the
CuttersCreek Design Team Blog.
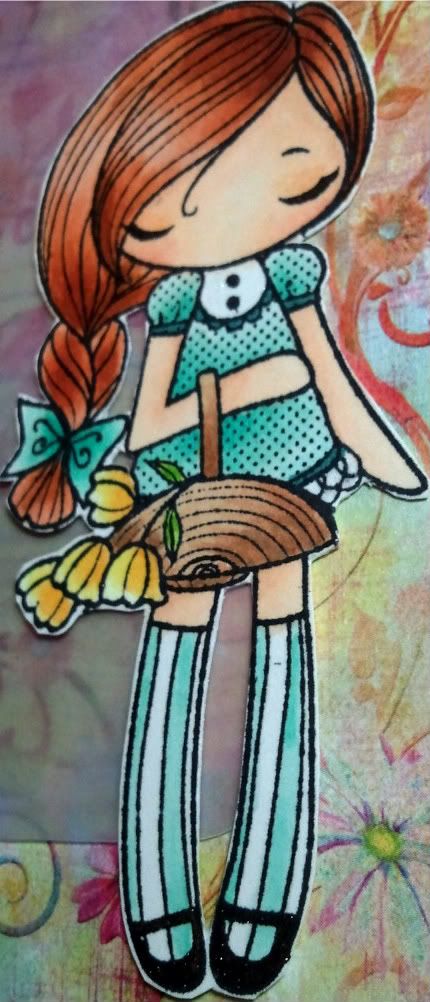
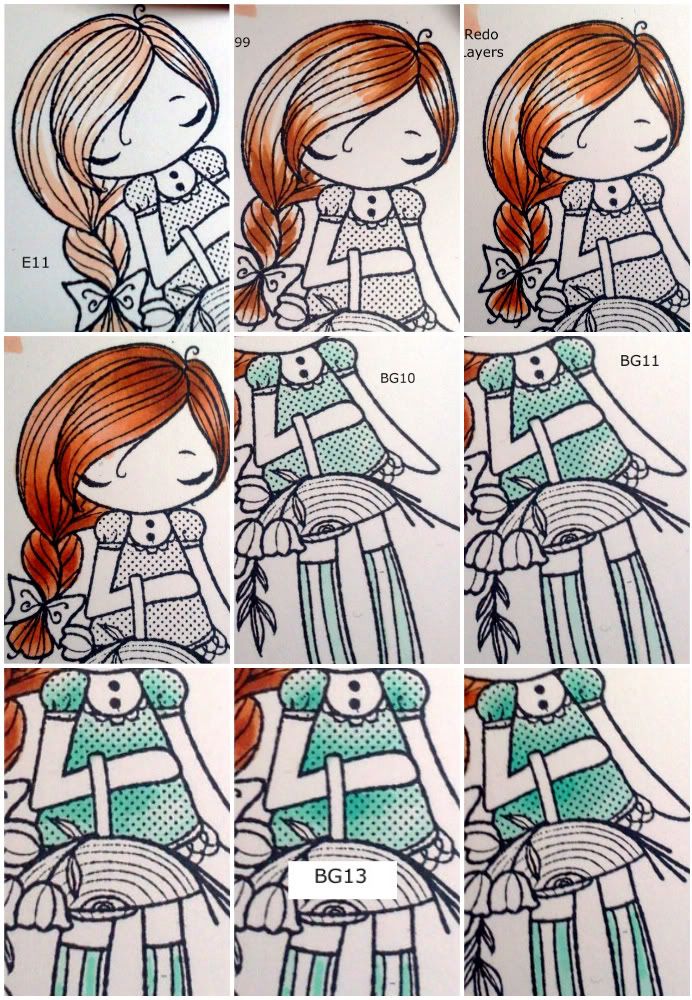
Just click on the pictures for a larger view. I started with E11 on her hair, deciding the sun is coming from the upper left of the picture. I than added E97 and E99. Then I went and added additional layers until I received the blending I was looking for. If you have any questions on this process let me know and I will put a video together.
For her dress, I started with BG10. I want her dress to look like a satin texture; extremely light colored but dark where there are shadows or creases in the fabric so I colored with deliberate white areas showing. BG11 was next, with BG23 following. BG13 was last as it is the darkest of the four colors and was only added close to the skin and basket. I went over with BG11 to blend in the darker colors. For her socks, I used BG11 and BG23 and blended with BG10 to give it the same satin feel. BG18 was added on the ribbon for the dress.
The flowers were very simple. I started with Y000, added Y11 and lastly YR21 and Y35 to the very bottom of the flowers. I used the clear spica on the very tops of the flowers to add a little shimmer. Next the leaves, YG11, YG13 and a little amount of YG17.
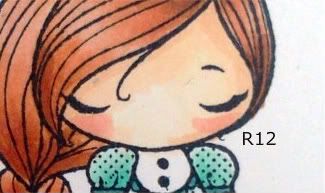
Last was the skin. The pics are a little out of sequence and I apologize for that. I started with E50 around the edges of the face, arms and legs. I than added E00 under the bang and forhead, inner arms and legs under the basket. E21 added in the same areas as E00 but in a less amount. I than used R12 (separate picture) to add color for her cheeks; I want to make her look sunkissed. Lastly, I went back to E50 and blend, blend, blend.
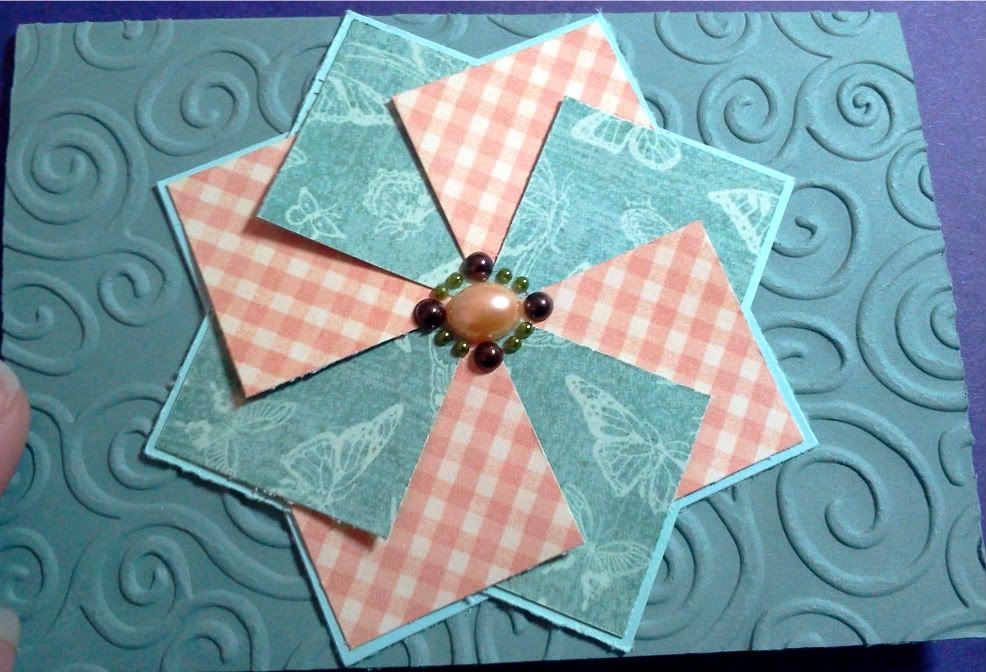
Here is the card finished. Very simple, but I like it :o) I used vellum for the paper behind her that was colored with BV02 to make the image pop a little more.
And here is the image completed. You'll notice the colors are a little more bold as the ink has settled and dried at this point. I went over the image with my spicas (LOVE these!) and added pitch black to her shoes and eye lashes, and peach above her eyes as an eye shadow and clear on her hair dress and flowers.
thanks for looking!!!
Stash: corner rounder, vellum
Skin: E50, E00, E21, R12, Peach, Pitch Black Spica
Dress/Socks: BG10, BG11, BG23, BG13, BG18, Clear Spica
Hair: E11, E97, E99, Clear Spica
Basket: E31, E33, E44
Leaves: YG11, YG13, YG17
Flowers: Y000, Y11, YR21, Y35, Clear Spica
Vellum: BV02