Thanks for being so patient with me!!


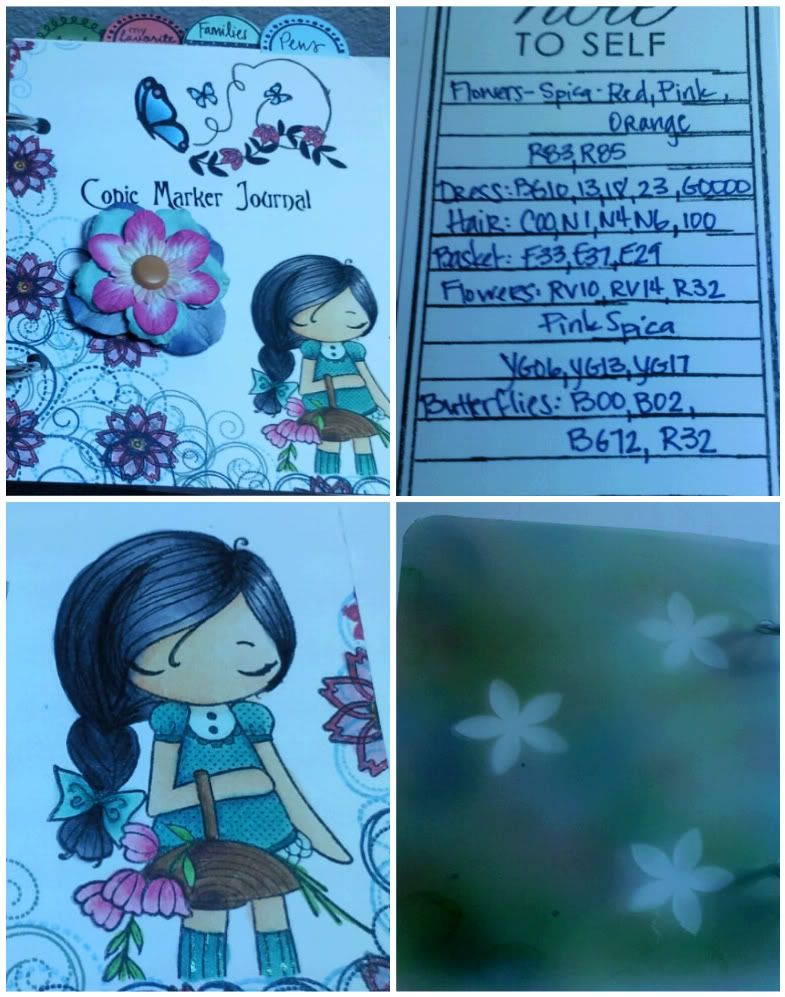 I came home from our class and immediately started working on my Copic Journal that you can download from here. I colored and stamped the front to personalize it and the back cover I created in the certification class with the air brushing technique. On the back of each section a did a "Just A Note" paper stating what colors, stamps, ink and method was used to color the image on the previous page. That way I always know what I did if I want to duplicate it. The pages were trimmed down using the Tabbed Mini Book Page die from PaperTrey Ink as well as the Mini Tab die. I used the the stamp sets Take Note, Mini Scrapbook Series: Tabs, and Delightful Dahlia from PTI; Miss Anya Collection from The Greeting Farm; Petal Perfection, Fanciful Flourishes, and All A Flutter from My Time Made Easy throughout the journal on the dividers. Everything was stamped on Neenah paper with Nick Bantock Lamp Black Ink. The front cover also had ink from PTI: Hawaiian Shores, Ocean Tides, and Enchanted Evening.
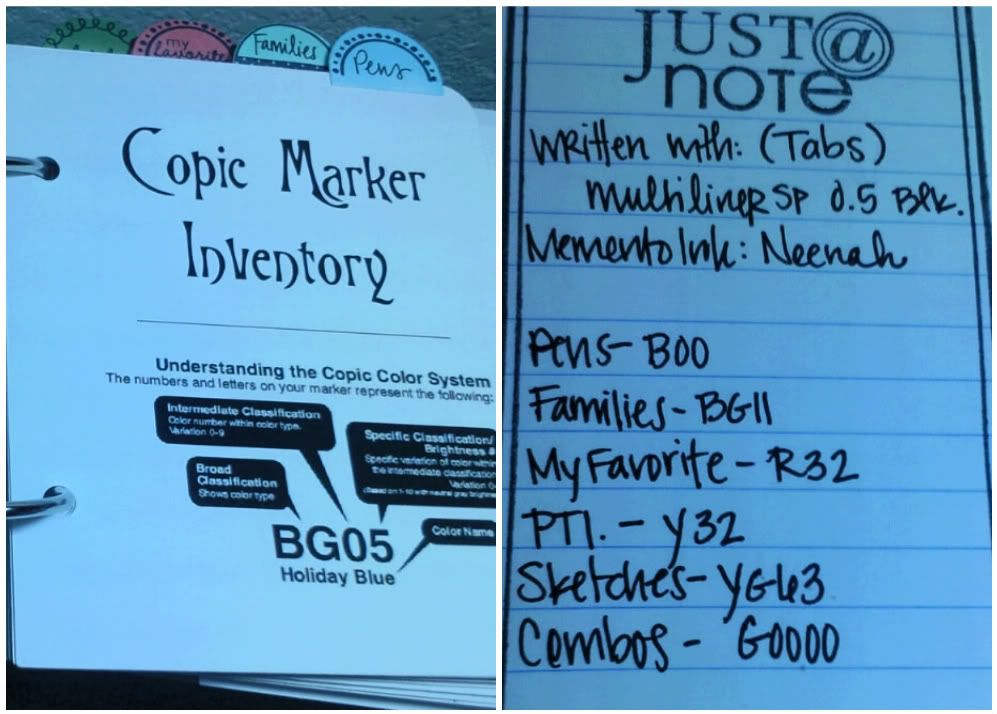
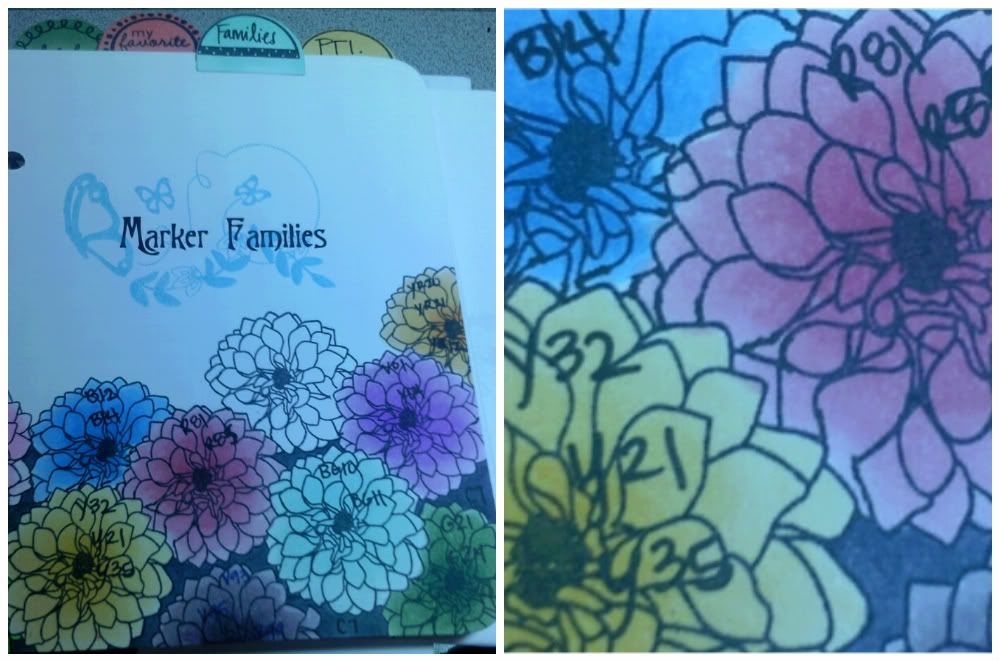 The next section is Marker Families. I colored all of the Delightful Dahlia images with "families". In the close up you can see; Y32, Y21, Y35 and R81, R85. This way I can see the families at work. Even the grey background is colored with C7 so the flowers pop.
  I also included the PTI suggested color combo with this I I like using several of the combos when I color. It can be found here. My printer was a little off on the colors so I think I will redo this page and color in with my markers.

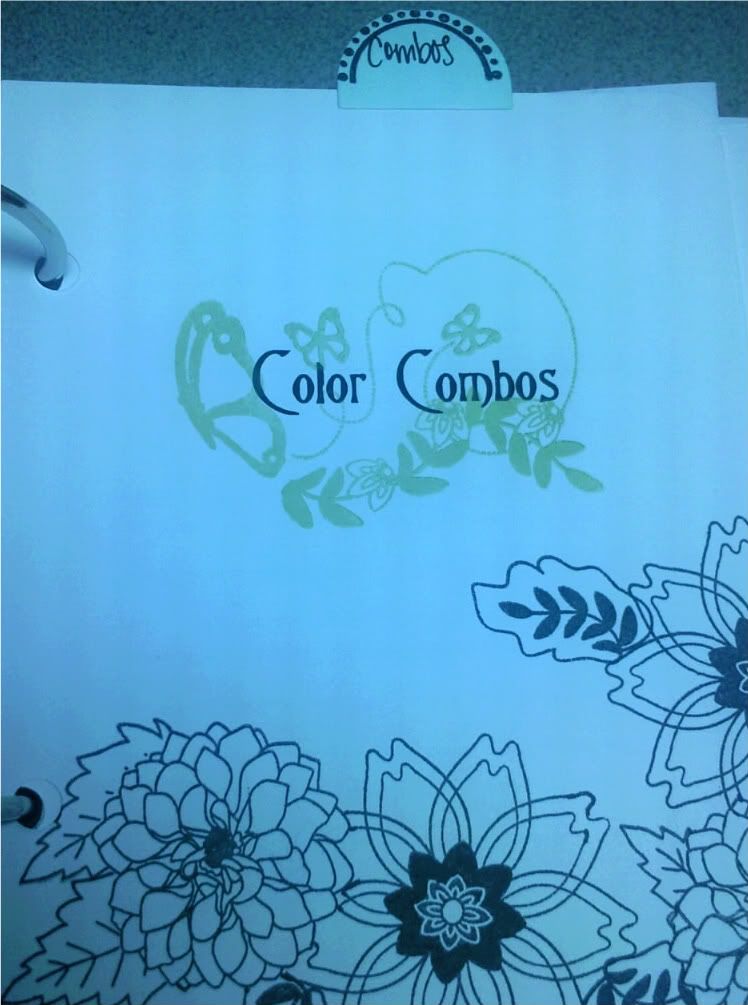 The last section is Color Combos. I haven't had a chance to add anything to this section yet so the divider is uncolored as well as a reminder to me. I also came away with a few ideas as well. The group of ladies we were talking to mentioned making swatches of the markers to place directly over the paper they are using to color match. Also to color a Copic Chart on each type of paper you would color your markers on to get a good comparison of the type of coloring you want to do. I did both! As any good OCD'er would say, you can never be too organized!
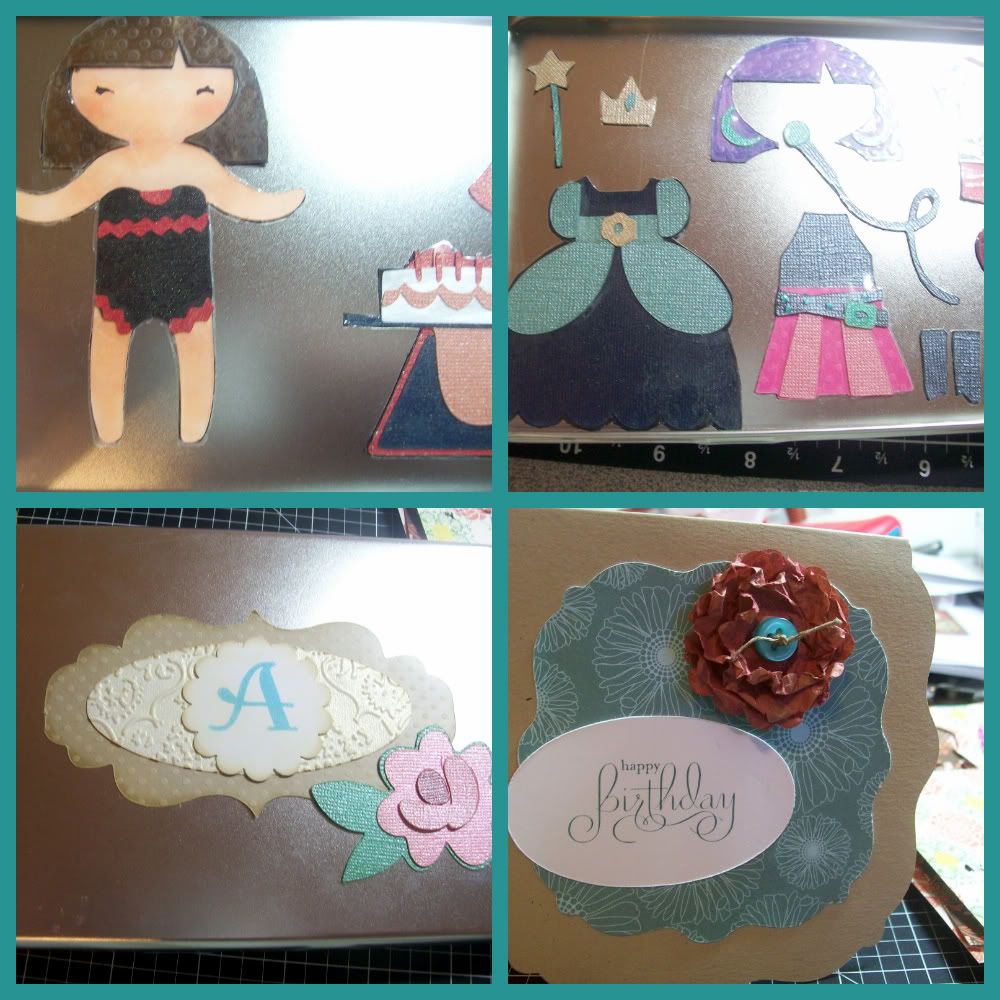
 You can read more about her birthday here.