Showing posts with label Graphic 45. Show all posts

Tuesday, June 28, 2011

New Birthday Card

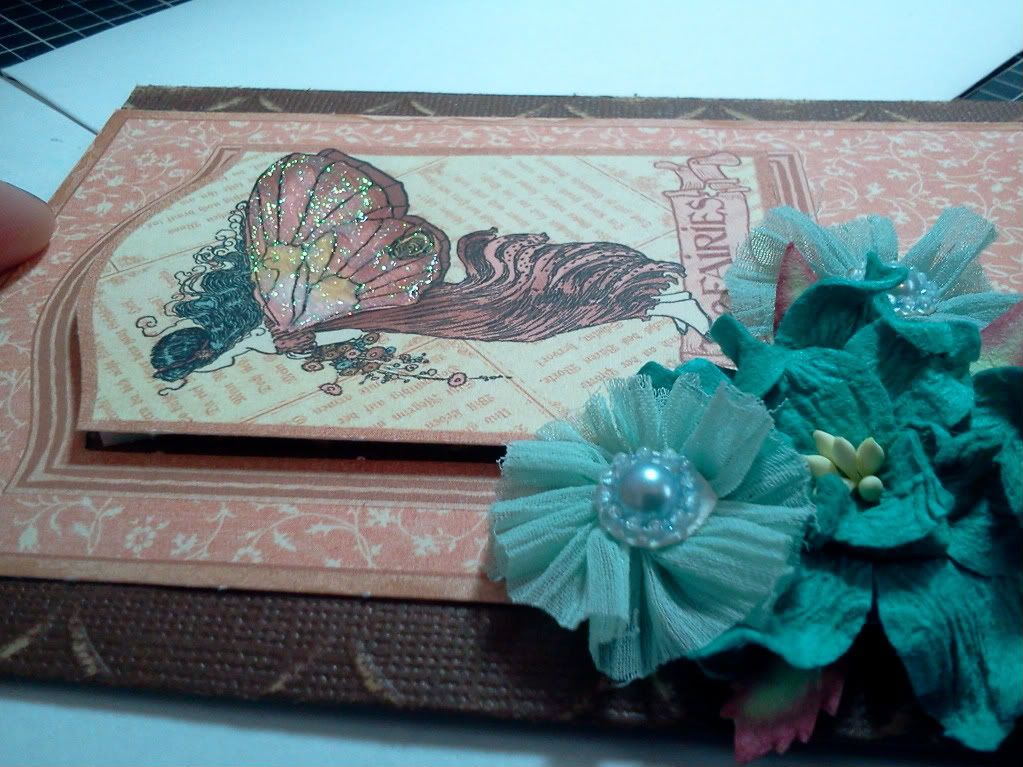
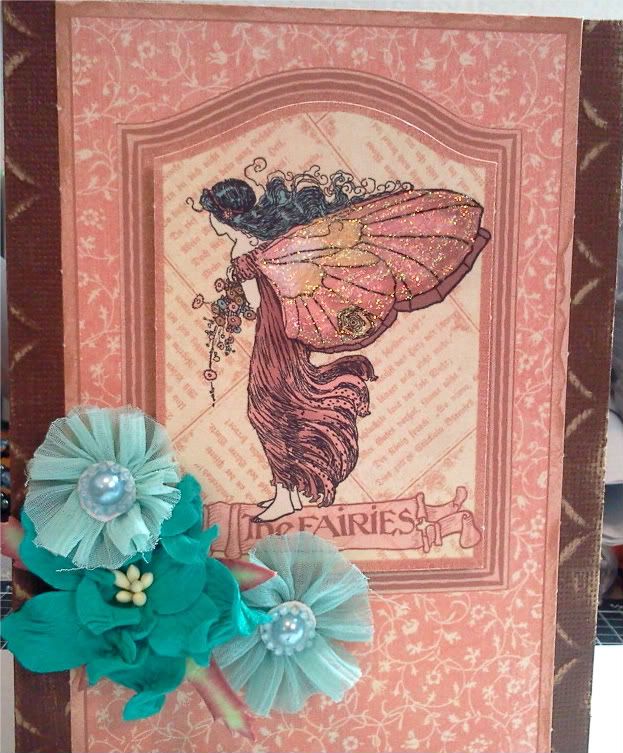
Hi!  I'm keeping it really simple today since I'm having some technical difficulties with my internet . . . But, I decided for my favorite item this month to use my Graphic 45 Once Upon a Springtime paper - -I have been using this for everything!  I kid you not!! 


I used some scraps of my Cosmo Cricket paper for the background and sanded it.  Over this is one of the images in the back of the paper pack.  I popped out the center image and used pop dots to raise it slightly.  I then added some of the fantastic CuttersCreek and Prima flowers to add some contrast.  It was still missing something, so I used my new love, stickles, on the wings.  I love how it makes them look 3 dimensional too!!

I hope you like it!!!


 Photobucket


Stamps: none
Paper: Graphic 45, Cosmo Cricket
Ink: none
Embellishments: Stickles, CuttersCreek: Aquamarine; Prima Flowers:Splash
Other: ATG, Scor-Pal
Stash: Pop Dots

Tuesday, April 19, 2011

Easter Card

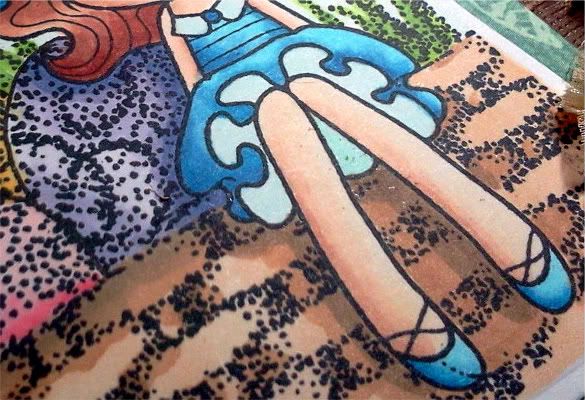
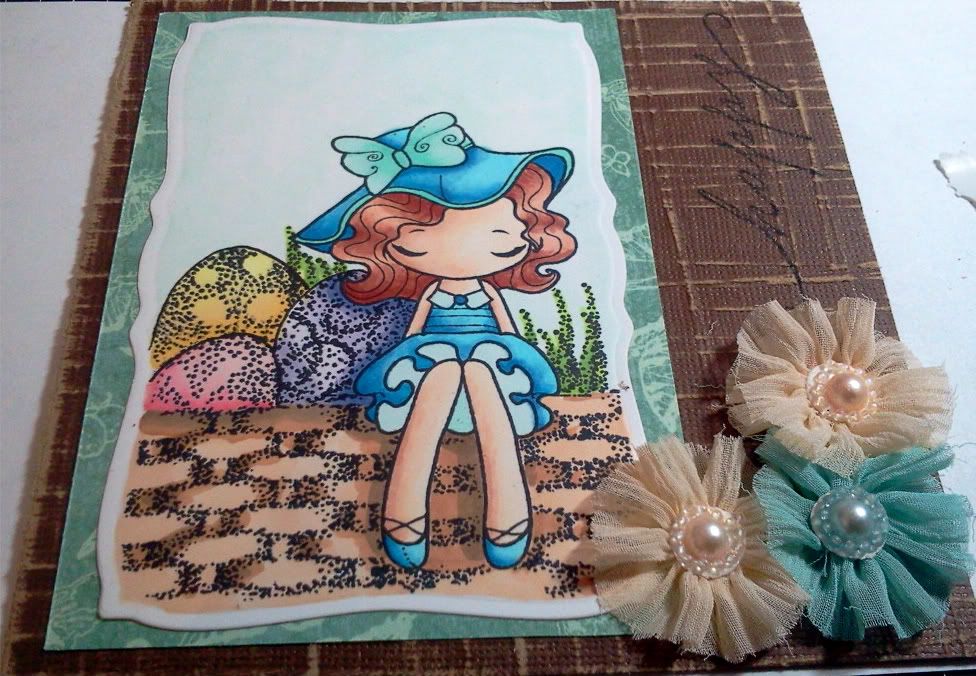
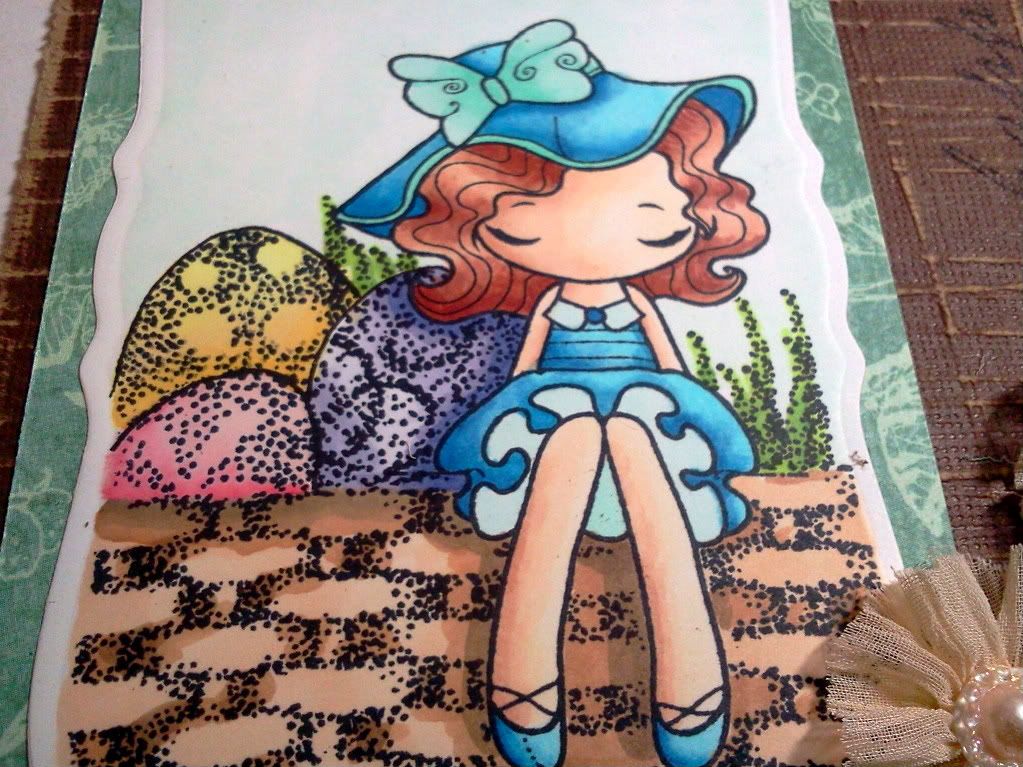
So I am trying so new techniques I learned at the Copic Intermediate Certification and decided to use the Miss Anya Dressy Collection as the stamps leave so much open for interpretation as far as shading and placement.  Making an Easter card I decided she should be sitting on the edge of a basket.  There was a lot of stamping and post-it notes involved; just as a reminder or hint, make sure you wash your hands between cutting the image on the post- it note and  placing it on your stamped image.  Ink spreads in case you didn't know :o)

I used the Linear Light template from Marianne Walker's Shadows and Shading Book to determine my light source to create a  more realistic picture; the upper right side.  Now, I colored my images paying attention to shadows and cast shadows in particular.  Cast shadows are shadows created by an object being reflected on another surface.  Does it look like shadows of her legs on the basket and her hair and side on the eggs?


I cut out the stamp using Curved Rectangles, embossed the edges and placed this over some Graphic 45 paper to make it pop!  I than took some Core'dinations paper and sanded it to use as my card base.  I stamped 'happy' on the top right, 'Easter' is on the inside, and used the new Prima Flowers as a corner accent.  What do you think overall? 


Photobucket

Stamps: TGF- Miss Anya Dressy, CTMH Eastertime (Stash)
Paper: Bazzill Simply Smooth, Graphic 45, Cosmo Cricket
Ink: Memento Tuxedo Black, Copics
Embellishments: Prima Flowers: Aurora. Splash
Other: ATG, Curved Rectangles, Embossing Mat, Scor-Pal

Stash: Post-It Notes, Shadows and Shading Book by Marianne Walker

Basket:  E21, E34, E44
Sky:      G0000
Eggs:     BV0000, BV00, BV11, BV04
             R30, R32, R35
             Y11, Y32, Y35
Grass:   YG23, YG03, YG17
Skin:     E50, E00, E11, E13
Hair:     E11, E13, E17, E19
Dress:   B00, B14, B16, B26
Trim:    BG10, GB11, GB23 

Friday, March 25, 2011

CC DT Spring Blog Hop

Welcome to the Cutters Creek Spring Blog Hop! All of our designers have created some wonderful Spring projects featuring products that you can purchase at the Cutters Creek Store! If you would like to start from the beginning head on over the the Cutters Creek Design Team Blog. Each blog along the way will have a link to the next blog in the chain. Don't forget to make sure you are following each of our personal blogs and leaving comments along the way to enter to win a box full of CHA Swag!!!! 

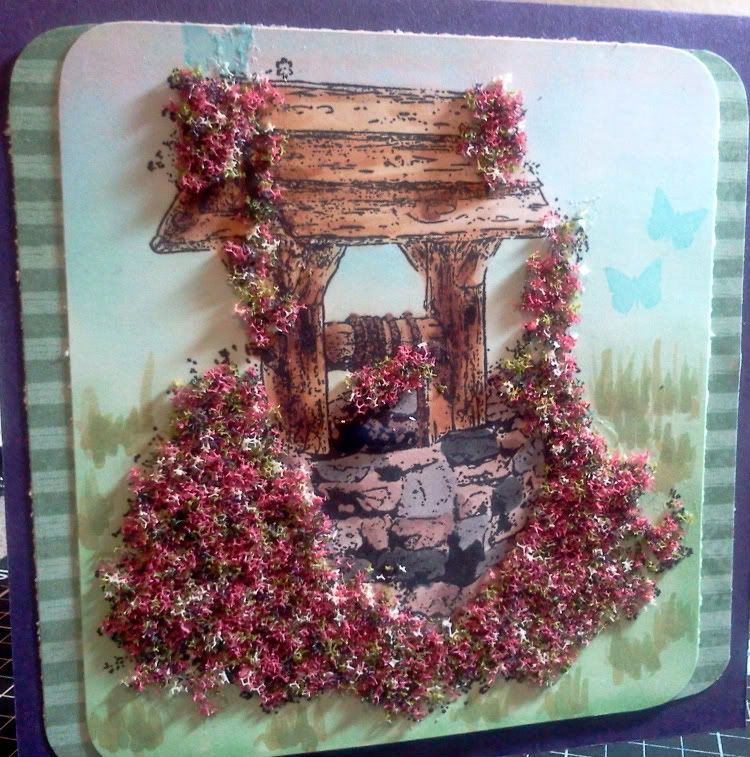
So I decided to use a favorite stamp of mine, Wishing Well. After stamping I decided to color using my copics, with the sun coming from the top right corner.  For the background, I wanted it to look similar to sunrise; that soft glow in the sky where the light gradually becomes brighter.  So I used my copics again to try and get an airbrushed background with the airbrush!  Used a few more green colors to add random grass as a horizon and some butterflies to add a more spring feel to it.  I also added some clear accents to the well to give it a 3D look for  "water".


Lastly I added my Flower Soft and assembled.  It only took about 5 minutes to dry which was great!  So here it is!


thanks for looking!!  


Next, hop on over to Lori's Blog and check out the awesome project that she has for you! 

Here's the line up of blogs if you get lost :o)  :

Cutters Creek Design Team Blog 
Mandie's Blog
Kim's Blog
Mindy's Blog
Laura's Blog
Melissa's Blog - you're here
Lori's Blog
Vicki's Blog


Photobucket


.


Embellishments: FlowerSoft -Heather
Stash: corner rounder, purple background paper, clear accents
Wood: E40, E42, E31, E34, E33, E37, E29
Well: E40, E70, E74, N1, N3, N4 , N6
Grass: G12, YG91, YG93, YG63
Sky:  G0000, B000, BV0000, V0000, YR000

Sunday, March 20, 2011

Pinwheel Card

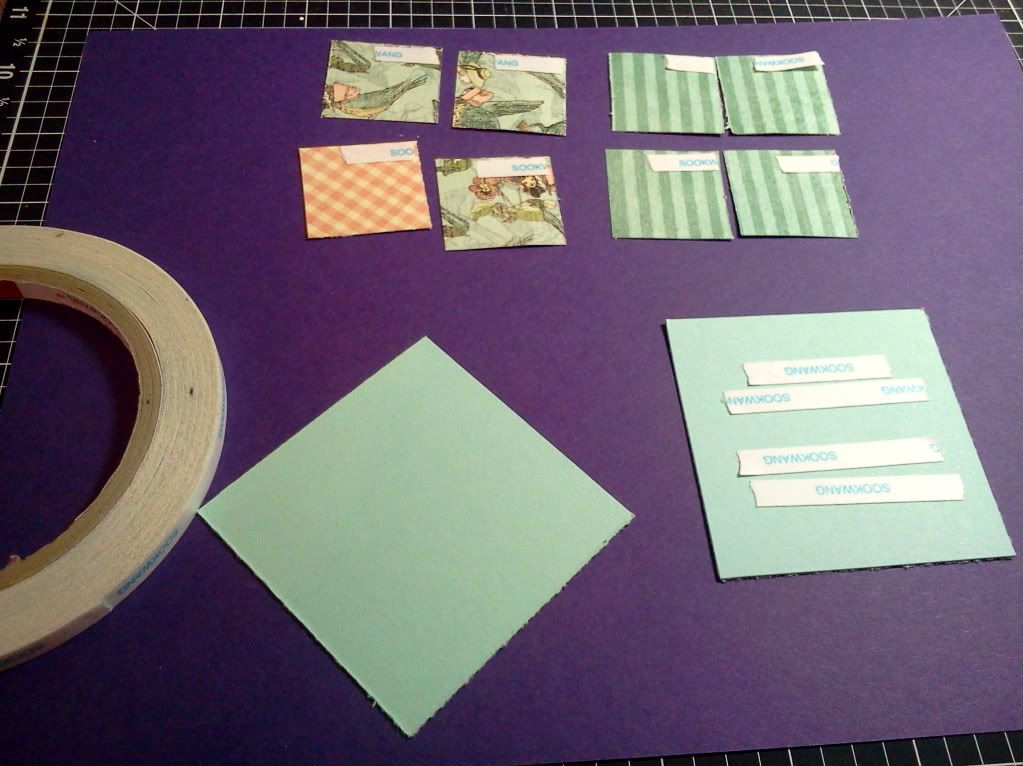
So today I am sharing a super easy card with no stamping involved; took me less than 10 minutes from start to finish!  You absolutely have to try this!  It is simple and quick for mass production or just a quick card on the go.  I got the idea from my good friend KellyRae.  She got it from here (video included).


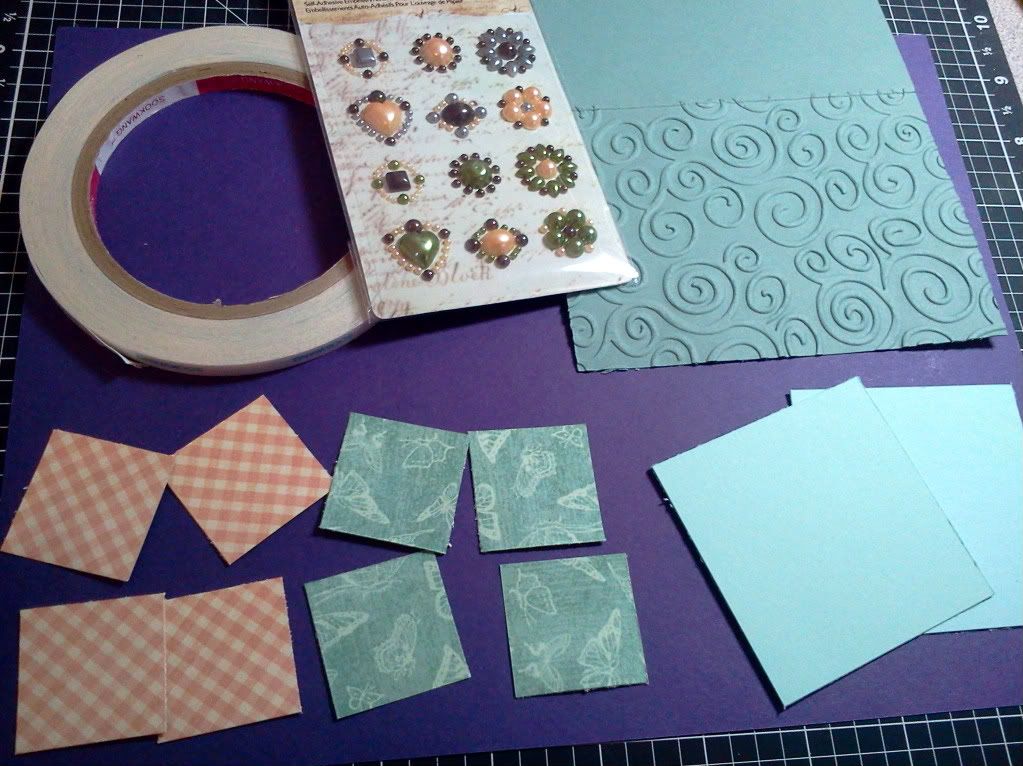
Here is what I started with:
A base card of 3.5" x 5" -slightly smaller than the standard A2 card already run through my big shot with the Swirls Embossing Folder.
8- 1 1/4" squares in two different patterns
2- 2 5/8" squares as my base
Embellishment -Prima Say It In Pearls
1/4" Scor Tape


Start with putting your adhesive on the papers; make sure the tape goes in the same corner for the 1 1/4" squares on the back side of the paper.  As you can see in my pic, I didn't follow the steps on the first try :o)

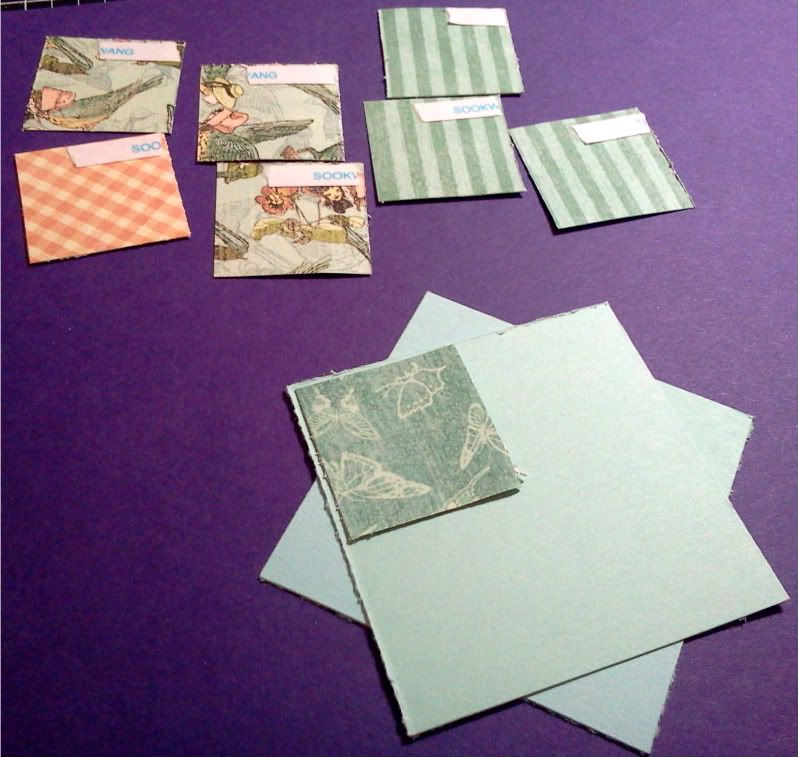
Next add tape to one 2 5/8" square and place the other square across it, twisted.


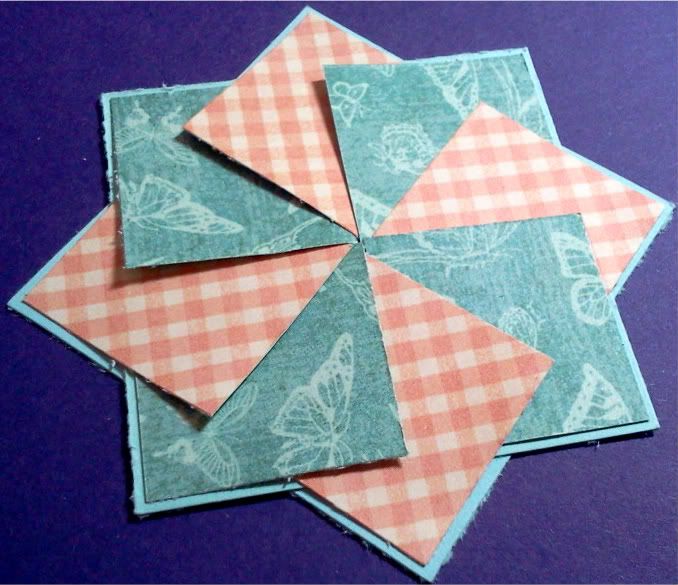
Now add your first square.  The rest is easy!  Just alternate the color or pattern papers aligning it with the corner of the base card stock.  For the last piece, you simply lift the edge of the first piece you laid down and work the last piece in so it is layered.  Very, very easy to do.

And here is the end result of the layering.  Hmm, I think I need to change my trimmer blades . . . . .


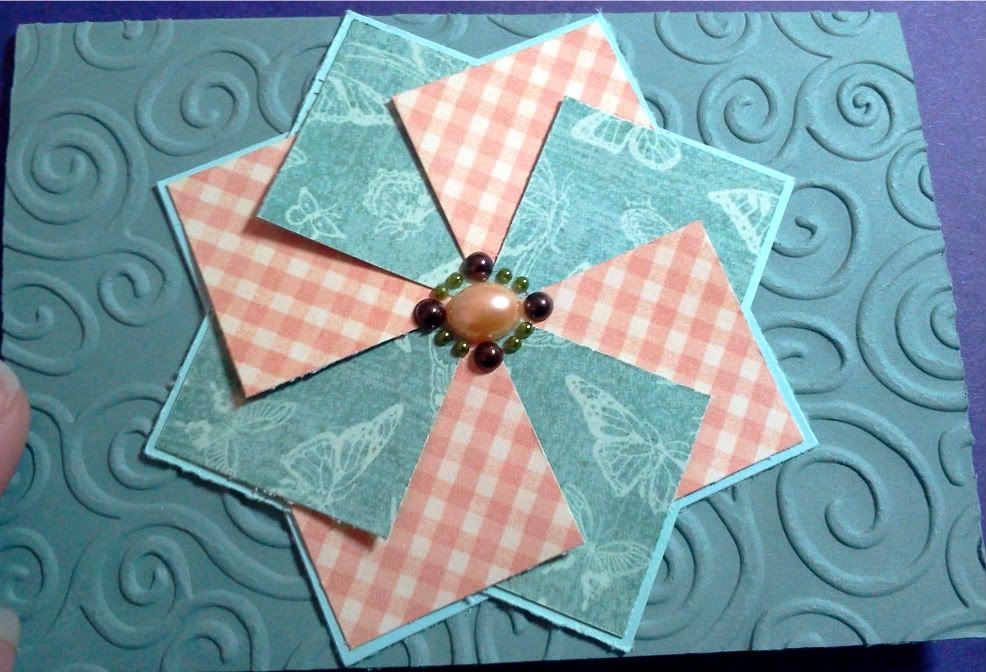
I than added an embellishment in the center and used Scor-Tape again to adhere it to the card base.  I chose the smaller card base of 3 1/2" x 5" as I wanted the Pinwheel to dominate the card front so all of my stamping can be on the inside.  Think it worked?


Photobucket


Stamps: none!
Ink: none!
Other: Scor-Tape, Paper Trimmer

Thursday, March 10, 2011

Melissa's Fairy Tale Card

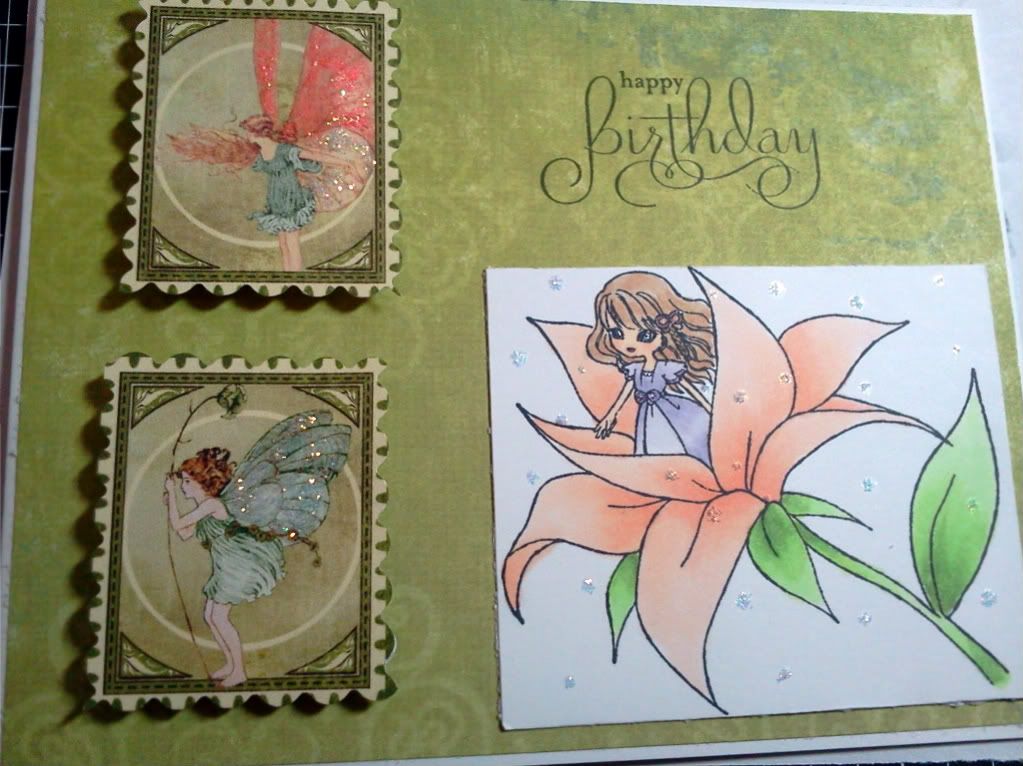
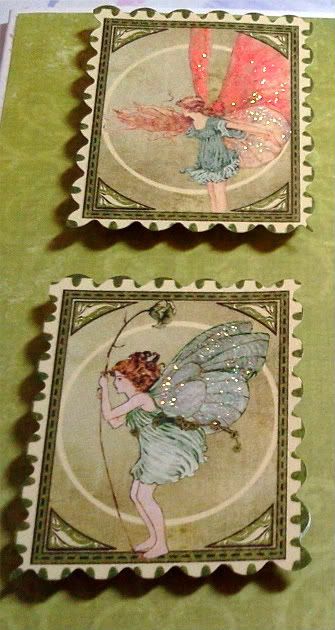
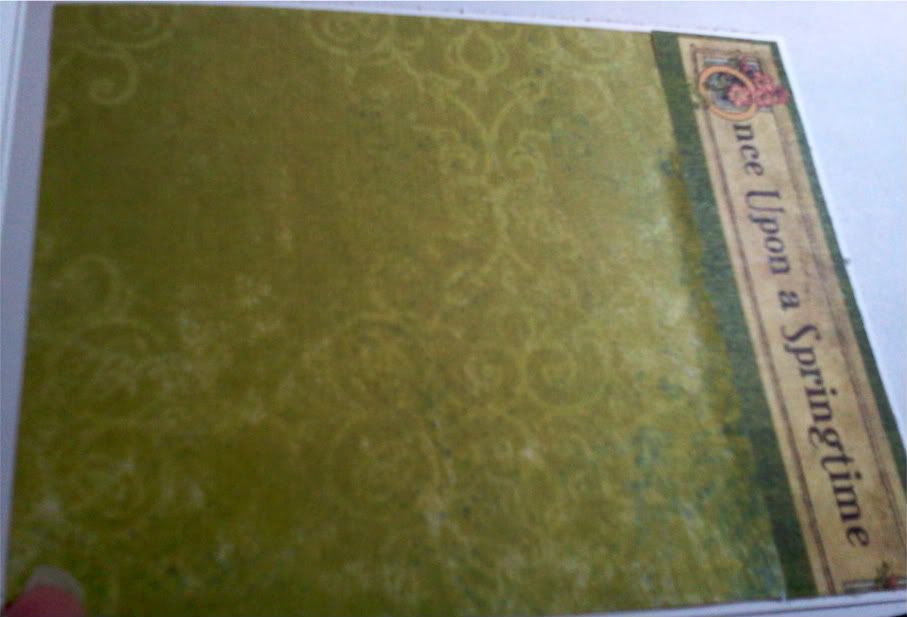
So I wanted to show some new products that Cutters Creek now has and what better way than making a card!  I started with the Graphic 45 Once Upon A Springtime Paper.  I have never used their paper before and  I can honestly say I cannot wait to buy more!  This card was a learning curve for me and I loved it!!

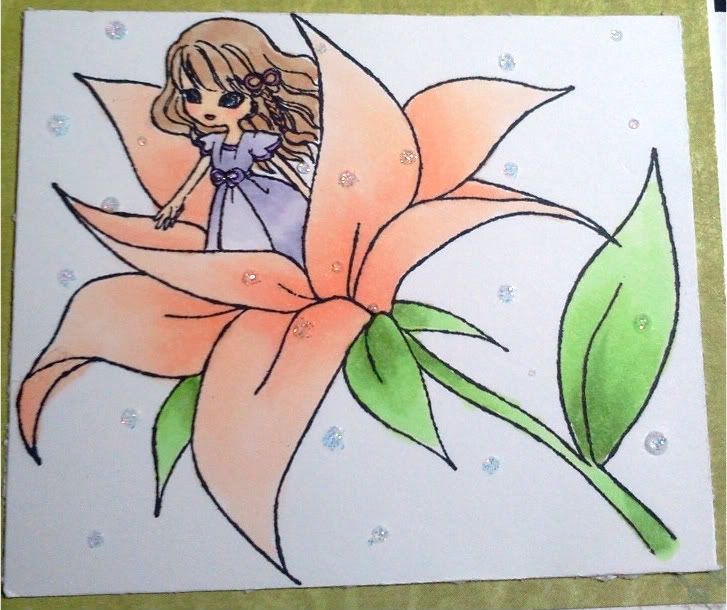
I have a tendency to lean towards mythical in stamps and papers and this just fell right into my element.  I loved the fairy and butterfly theme in this collection and was trying to find the perfect stamp set to complement it.  I came across a new stamp set from In Style Stamps; Fairy Tales.  Perfect!  There is an image of Thumbelina that would work perfectly with the fairy theme.


I wanted to make the wings pop from the paper and also just add a shimmer effect to the stamped image but I wanted something more popping than the subtlety of Spicas; Stickels!  They were the product of the month for February and I have never used them before.  I really like how it gave the fairy wings a realistic look and added a fantastic feel to the Thumbelina image.

  
I love how I was able to blend the Graphic 45 paper with some from my stash for the inside of the card.


Let me know what you think!!


Photobucket


Stamps: In Style Stamps Fairy Tales, SU! Well Scripted (No longer available)
Embellishments: Stickles -Tropical Tangerine, Diamond
Other: Glue Dots, ATG
Stash: corner rounder, green background paper 
Skin: E50, E00, R12, Peach, Sky Blue Spica
Dress: BV0000, BV00, BV11, Lavender Spica
Hair: E42, E31, E34
Leaves: YG11, YG13, YG17, YG63
Flower: YR000, YR01, E02