Showing posts with label Cuttlebug. Show all posts

Friday, November 30, 2012

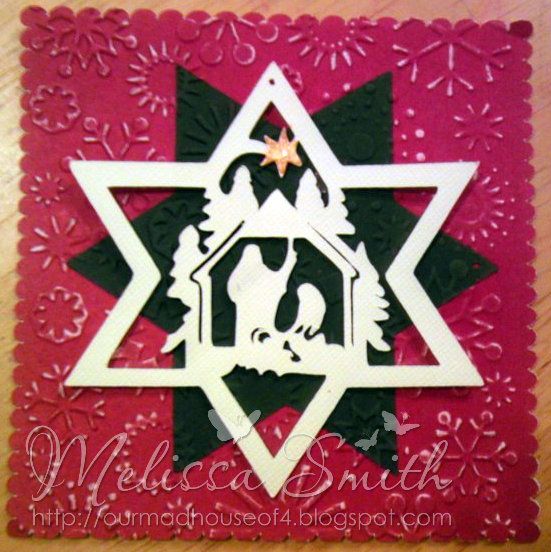
Nativity Card

Hi!  With Christmas right around the corner, I have been feeling a little overwhelmed with the daily schedule my family has and have been dreading making my cards this year.  I found myself trying to find alternatives to my usual elaborate cards as I just don't have the time with an active infant trying to crawl everywhere!

Here is a very simple Christmas Card I made using scraps found in my paper drawer with an SVG image I found here.  I love all of his designs and they are so versatile with every project I have been making lately.  I than used my cutting machine to cut out the base, the star and the nativity scene.

I adhered the star to my base and ran it through my Big Shot with the Cuttlebug Snowflakes folder and than used a file to make the white stand out a little more.  I used clear mounting tape to place my image for a 3D effect.  I thought about lining up the image with the green star, but I found I liked the layered look better.  I think it makes it pop a little more.  For the final touch, I added Liquid Pearls for the star.


thanks for looking!


Embellishments: Snowflakes, Liquid Pearls
Other: ATG, Big Shot, File SetKool TAC
Stash: Paper


Photobucket

Friday, October 26, 2012

CC Blog Hop


Welcome to the Cutters Creek Design Team Holiday Blog Hop! We want you to hop along with us and play for some awesome Blog Candy. The objective for our Blog Hop this weekend is to provide some inspiration to help you get your holiday crafting underway! Our Design Team has come up with some fabulous projects and we have a little bit of everything, from cards to gift ideas, and home décor items. So we invite you to hop along with us and get your creative juices flowing!

Here is the complete blog hop line up in case you get lost along the way:

Melissa -  you are here


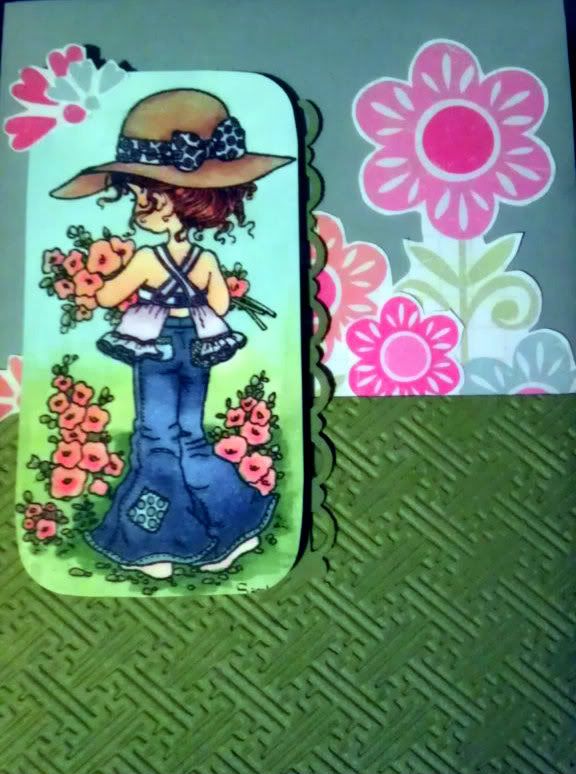
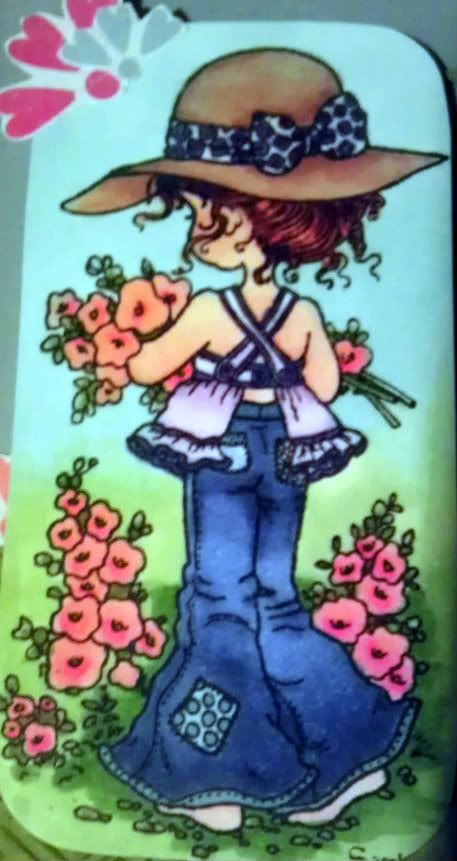
For my card,  I decided on making a simple birthday card coloring my favorite image from Sarah Kay. I then took some papers from my stash, ran the green through with a cuttle bug folder and assembled.  I couldn't find anything to really go with the card, so I cuts some shapes from the patterned paper I used to add a little dimension.  Assembled the card and its ready to go!


Don’t forget to leave a comment before hopping along to Lori's blog. If you do leave a comment here, you can enter for a chance to win some wonderful AC Glitter Tape which I showed on my project last week. Thanks for hopping by and we hope you enjoy the hop and get many wonderful ideas!


Paper: from stash, Bazzill
Ink: Memento Tuxedo BlackCopics,
Embellishments:Cuttlebug Oriental Embossing Folder
Other: ATG

Jeans: BG72, BG75, BG78
Pockets: G29, B18, BG10
Ribbon/Shirt: BV00, BV02, BV04
Skin: E50, E00, E02, YR000

Hair: E97, E99, E37
Hat: E21, E11, E33
Flowers:  RV0000, RV00, RV02 
Leaves: YG11, YG13, YG17
Ground: YG91, YG93, YG95


Photobucket

Friday, August 5, 2011

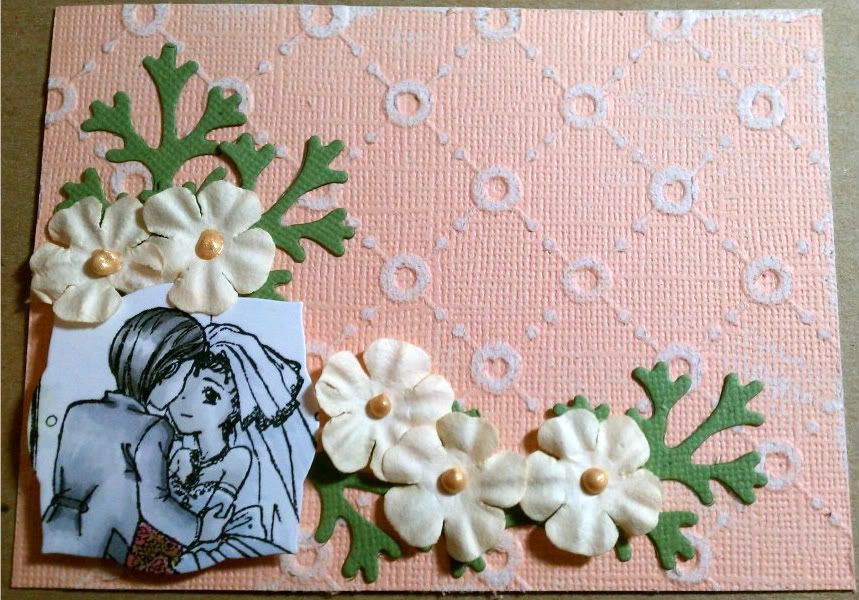
Congrats Card

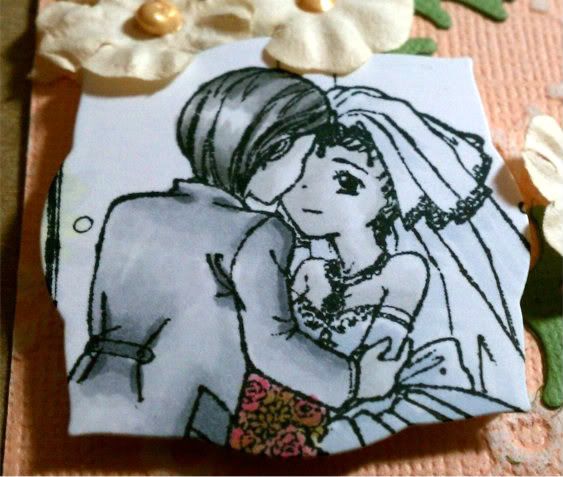
So I made a really simple congrats card for a bride and groom.  The total card size is 3 1/2x 4 1/2.  So it's great to slip in with a gift.

I started coloring this adorable image from InStyle Stamps; the Wedding Couple.  I colored in all grays to make it classic looking.  Once done, I used my Labels Three to cut out the area around their faces.


I sanded my base paper which came from the Cosmo Cricket Core'dinations pack.  I than used my Big Shot again on leaves from the Foliage set.  I used some paper flowers from my stash and used some Gold Liquid Pearls for added effect.

What do you think?


thanks for looking!!

Photobucket


Paper: Bazzill Simply SmoothCore'dinations
Ink: Memento Tuxedo BlackCopics,
Embellishments: Liquid Pearls
Other: ATG, Glue PenSpellbinders: Foliage and Labels ThreeBig Shot
Stash: Kaisercraft paper flowers: cream

Groom Hair: T1, T3, T4, T6
Skin: T0, T1
Dress: C1, C2
Veil: C00, C1
Flowers: R83, R85, E04, YG91, YG93, YG95

Friday, July 29, 2011

Christmas In July


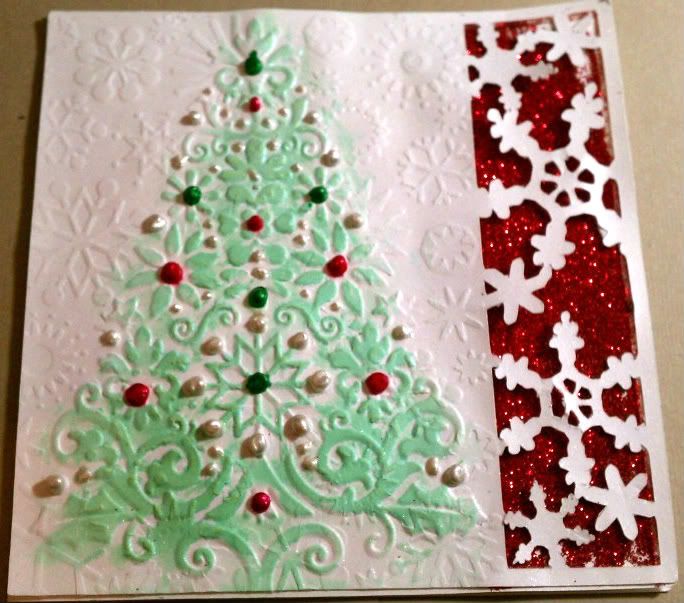
So I decided to revamp a Christmas card idea I have had for quite awhile.  I started with a snowflake border on my computer for a 5x5 card and cut it out using my Cricut.

After I cut the image, I ran the paper through my Big Shot with the Cuttlebug Snowflakes folder and again with my Lace Tree folder to soften the snowflake impressions slightly.

I used some red glitter from my stash to bring out the snowflake design.  I wouldn't recommend glitter for an area this large as it gets messy!  For future cards, I will use the American Crafts glitter card-stock.  It cuts cleanly and there is no glitter residue to be found weeks later on another project :o)

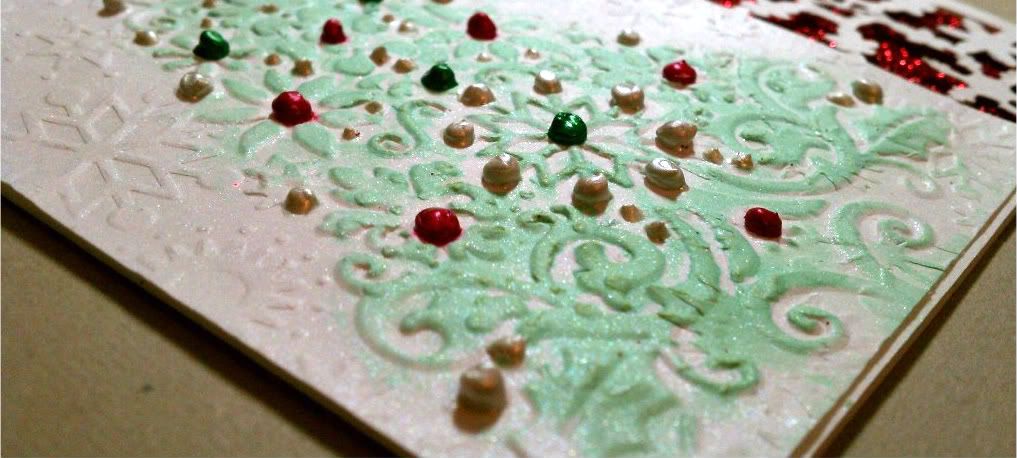
After the glitter was added I glued my embossed/cut image to the card.  It was still missing something, so I sprayed some Lily Pad glimmer mist on a tissue and ran the tissue over the raised image of my tree.  Once it was dry, I sprayed the front of the card with Dazzling Diamonds glimmer mist to add overall shimmer.  Doesn't it look pretty?


For the next step, make sure your card is completely dry!  I didn't check and noticed after the fact and had some ink running.  I used 3 different Perfect Pearls to accent "ornaments" on the tree.  What do you think??  Definitely a lot of work for a Christmas card, but you are waiting for the card to dry so much in between that it is actually pretty easy to reproduce like a production line.

thanks for looking!

Photobucket


Image: n/a 
Paper: Bazzill Simply Smooth 
Ink: Glimmer Mist: Lily Pad, Dazzling Diamonds
Embellishments: Perfect Pearls: Emerald Green, Ruby RedWhite Opal
Other: ATG, Big Shot, Cuttlebug -Lace Tree (retired), Snowflakes, Cricut
Stash: red glitter

Wednesday, May 18, 2011

Anime Card

So today, I wanted to show some really simple, lovely cards I made using one of the oriental weave embossing folders from Cuttlebug.  I was trying to think of an image that would compliment the embossing folder.  So I went to my favorite site for anime images; http://www.deviantart.com/

I LOVE this site.  One of my favorite artists is Princess Elemmiriel.  She has the most gorgeous line art to color.  I chose Lady Rose Dragon . . . I can't tell you how many cards and miscellaneous items I have made with this image in particular.  So while I waited for my printer ink to dry - -you can never wait too long - -I embossed a beautiful Jade Green and a Silver Gray paper from Core'dinations Gemstone pack with my oriental weave embossing folder.  I would highly recommend this paper as well!   I centered them on some back cardstock from my stash and started coloring my images.  Bytheway, these cards are the standard A2 size :o)

So I tried to stay with complimentary colors to the papers I chose.  You don't have to use all the colors I did to get the same effect; I just started tossing in colors while I was playing.  I really tried for a dramatic look with the eyes and lined them with a multiliner and with spicas.  What do you think?


Hair: YR000, E50, E21, E11, E97, E99, E37, E29

Skin: E50, E00, E21
Eyes: G20, YG11, YG17
Makeup: R12, R02, R32, Pitch Black Spica, Peach, Clear
Hairband/Trim: Y32, Y35, Y17
Dress: BG10, BG11, BG23, BG13
Flowers: RV02, R12, R02, R32, R35
Shadows: C00, C1


Hair: C00, C1, C2, C4, N4, N6, N9, 0- Blender
Skin: E50, YR000, E00, YR01
Eyes: G20, YG11, YG17
Makeup: R12, RV91, RV93, Pitch Black Spica, Peach, Clear, Silver
Hairband/Trim: N1, N4, N6
Dress: BG10, BG11, BG23, BG13, BG45
Flowers: BV0000, BV00, BV02
Shadows: C00, C1


thanks for looking!!!
Photobucket


Paper: Bazzill Simply Smooth, Core'dination Gemstone,
Embellishments: Liquid Pearls
Stash: Black Cardstock

Friday, December 10, 2010

CuttersCreek Blog Hop

Welcome to the Cutters Creek Red and Green Blog Hop!

Our wonderful design team members have all created some fun Christmas projects to inspire you! The only requirement for the projects were that they must contain Red and Green. You just saw a fabulous project on Laura's blog. Your next stop along the hop will be Sandi's blog. If you are just finding our hop please head over to the Cutter's Creek Design Team Blog to start from the beginning; I also have it listed below. There are 8 inspiring projects for you to check out as well as 8 chances to win a great prize from Cutters Creek!

Blog Order:
Chris
Mandie
Laura
Melissa- you are here
Sandi
Kim
Vicki
Lori

Please leave me a comment about your favorite Christmas Tradition. Comments left up until 11:59pm on Sunday December 12th will be eligible to win. Unfortunately, only 1 entry per person. All winners will be selected Monday and posted on each blog so make sure you check back to see if you have won! I will have mine posted no later than 5 pm AZ time. You will have 48 hours to respond before we choose another winner. Random.org will be used.

Blog Candy up for grabs is the CuttleBug Emboss Plus Monogram Seals - -aren't they adorable!!

Here is the project that I have created for today's hop.

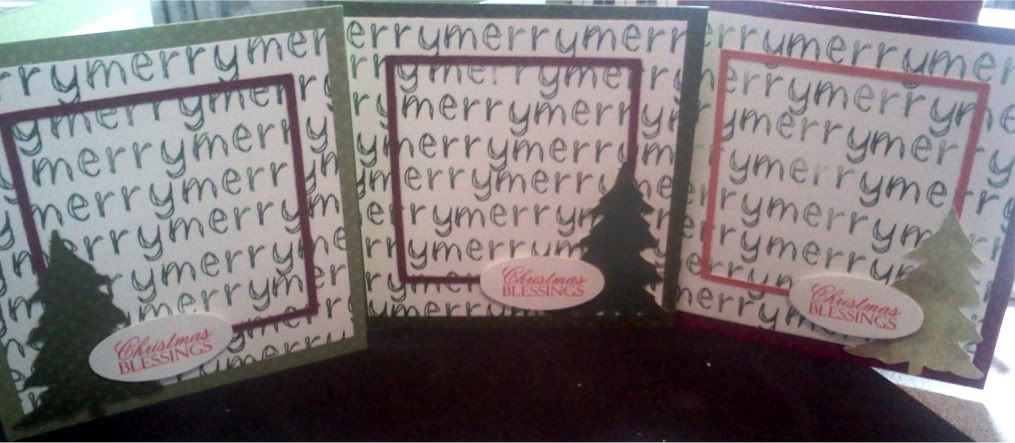
So I made a trio of cards for my red and green "card".  Don't you just LOVE how the thin red square gives an illusion of a third and fourth layer?!?!  I LOVE how these cards turned out! 


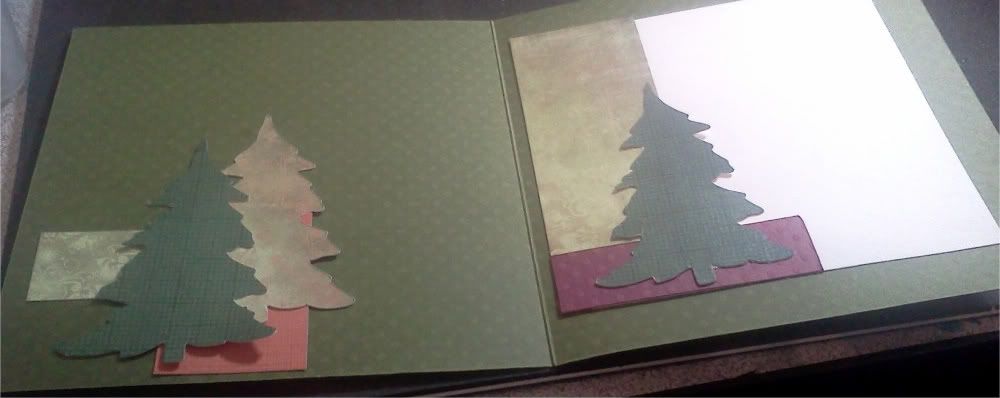
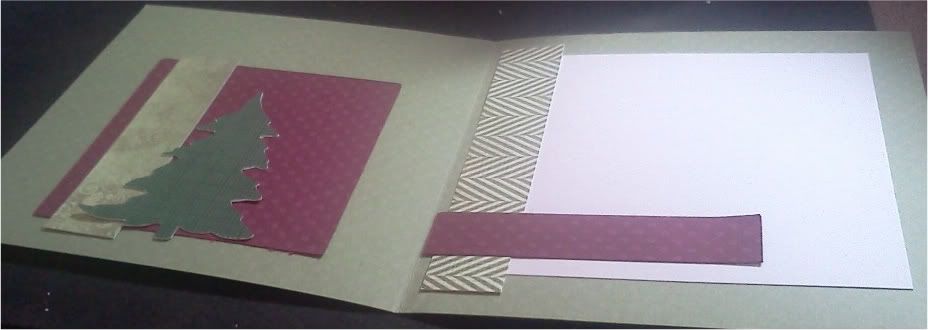
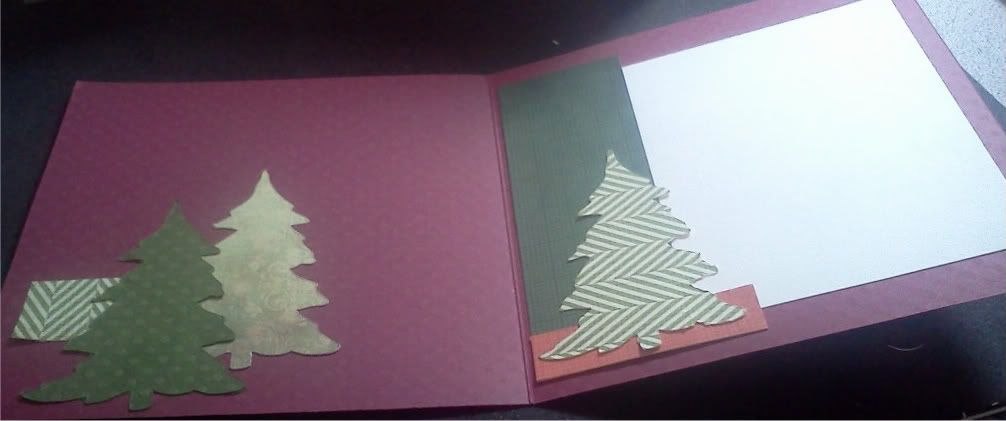
I started with a 5 x 5 card base using Dotted Swiss Multi-Pack, a layer of Simply Smooth White Cardstock with alphabet stamps from my stash to stamp "Merry" multiple times; a thin 3 3/4 x 3 3/4 square of Dotted Swiss Multi-Pack.  The "Christmas Blessings" is also from my stash stamped on Simply Smooth White Cardstock.  The trees are cut with my Cricut via Make-The-Cut from the library.  The papers used for this were from Fairy Flora Paper Pad, and Dotted Swiss Multi-Pack.  Also, I used the WONDERFUL 1/8" Scor Tape to assemble it all.    

Here are the insides of the card . . . I just love how the trees turned out perfectly for this!


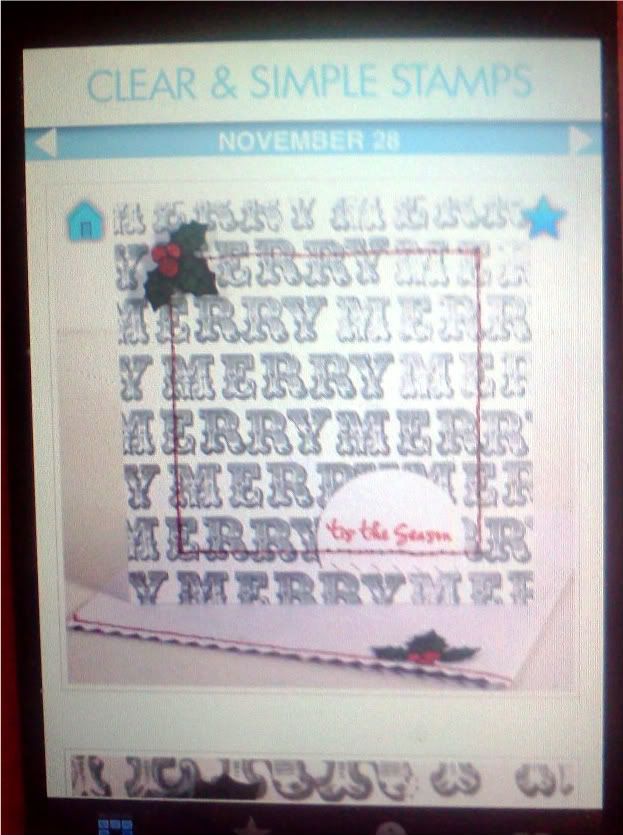
My Inspiration for my card came from the Clear and Simple Ipod App


If interested, here is a cut file with all the shapes I used.  The oval and square are mine but the tree (Pine Trees) I snagged from the MTC library.

So what do you think?  Next, head on over to Sandi's blog for more great ideas!!

thanks for looking!!!

Monday, May 31, 2010

Paper Make Up Submission

Hello!  So today I am sharing some cards I made to submit for the call at Paper Make Up Stamps!  Hurry if you are interested as today is the last day to enter!!!

My first two cards I was experimenting on some sketches I found and with colors.  Now, I tend towards simple when I make cards but it also depends on who I am giving them to as I try and give something that fits individual personalities.  For these, I don't know who is getting them yet - -might send them in to OWH as they are always looking for cards! 

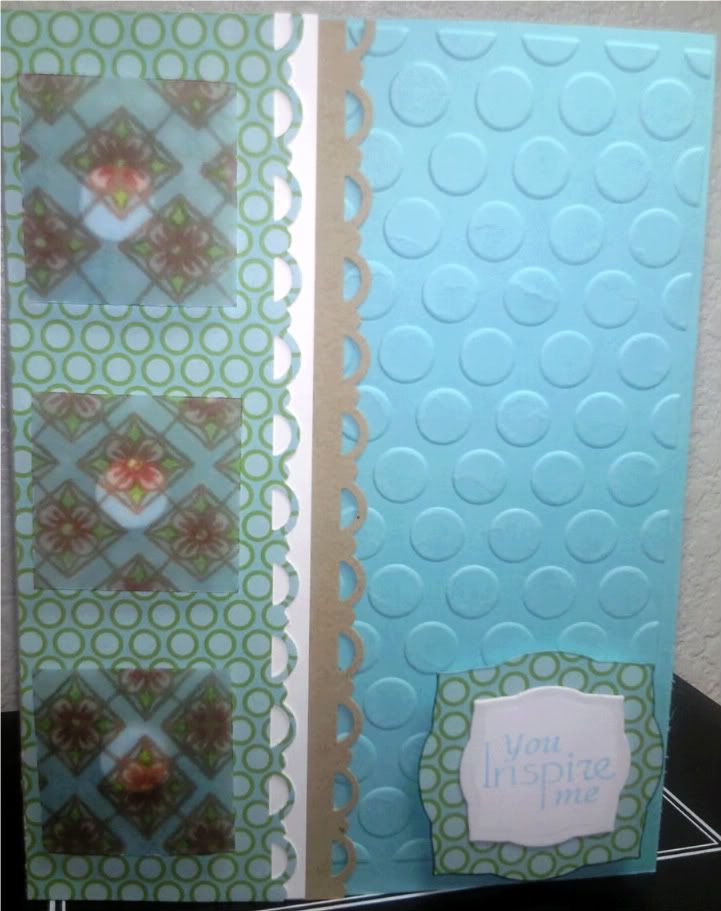
For this card, I LOVED the sketch!  The bottom right is the sentiment that is stamped in Hawaiian Shores so is a little light in the picture.  It reads, "You Inspire Me."  I cut it out with Nesties Label 3 and embossed the edge.  I ran my copic C0 along the edges so that it does not detract from the words themselves.  I used pop dots (which you can see on the cards under the vellum  - -may be awhile before I use vellum again!) 


Recipe: 
Paper: PTI- Hawaiian Shores, Kraft, Stamper's Select White, Green Boutique.  Vellum from my stash. 
Seeing Spots Embossing Folder
SU! Scallop Border, Nesties Label 3
Stamps: MTME: Sensational Sentiments, Argyle Amazement
Ink: Memento Chocolate Ink, Hawaiian Shores
Copics: Y35, R12, RV14, BG72, B02, YG13, YG17

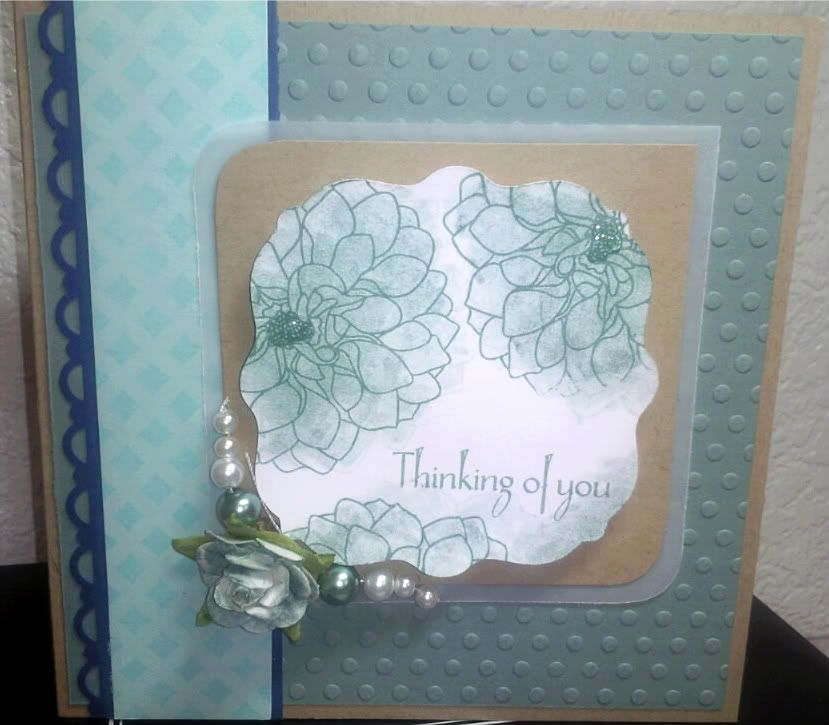
 My 2nd card is a 5 1/4" square card.  I used a new technique in this one - -I took some refill ink and diluted it to color in the flowers. I kind of like the way it looks, a softer version than coloring with my copics.  I stamped the Dahlia twice, first with Ocean tides and again with Versamark Dazzle so there is a slight glimmer.  I also added glaze tot he centers to make them pop a little more.
Recipe: 
Paper: PTI- Ocean Tides, Kraft, Stamper's Select White, Enchanted Evening, Aqua Mist.  Vellum from my stash. 
Polka Dots Embossing Folder
SU! Scallop Border, Sentiment shape cut with Cricut, Corner Rounder
Prima Flowers -French White, pearls from stash
Stamps: MTME: So Sentimental, PTI Delightful Dahlia
Ink: PTI Ocean Tides, Versamark Dazzle Champagne, CTMH -Breeze, Colonial White

My third card is by far my favorite!!  I wanted to try something a little different so I turned the background label.  I really like how it makes the image pop even more (plus so the pop up dots!)  If you can't tell yet, these shades of bluish -green are my FAVORITE colors.  So hopefully they don't bore you too much!

Recipe:
Paper: PTI- Ocean Tides, Ripe Avocado, Stamper's Select White, Green Boutique. 
SU! Scallop Border, Nesties Label 3, eyelets from TAC, PTI Hawaiian Shores button
Stamps: MTME: Sensational Sentiments, TGF Miss Anya Collection
Ink: PTI Ripe Avocado, Memento Tuxedo Black


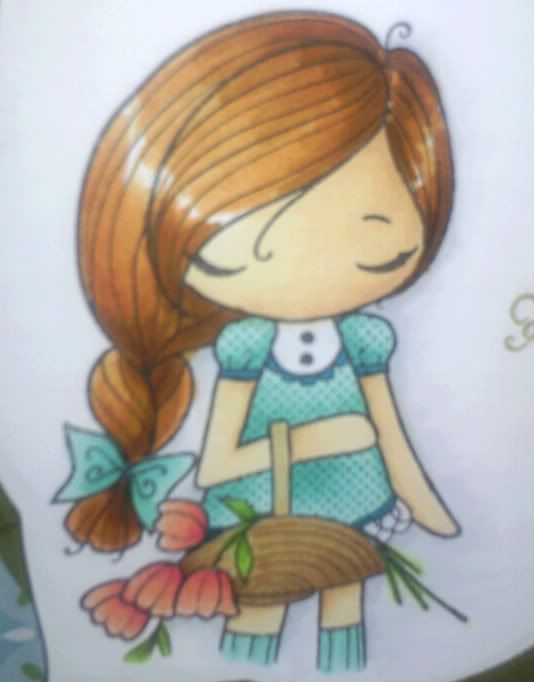
Copics: I have them grouped in areas colored: (E37, E99, E97), (E21, E11, E00, E50), (C0, C00, BG49, BG13, BG34, BG23, BG11), (RC14, R32, R12), (E25, E33, E31), (YG13, YG17), (C2, C1, C0, C00)


Here is a close up of Anya as I LOVE how the coloring turned out for her!  Bytheway, the copics listed above are show from top to bottom so if you like the combo there ya go!
 
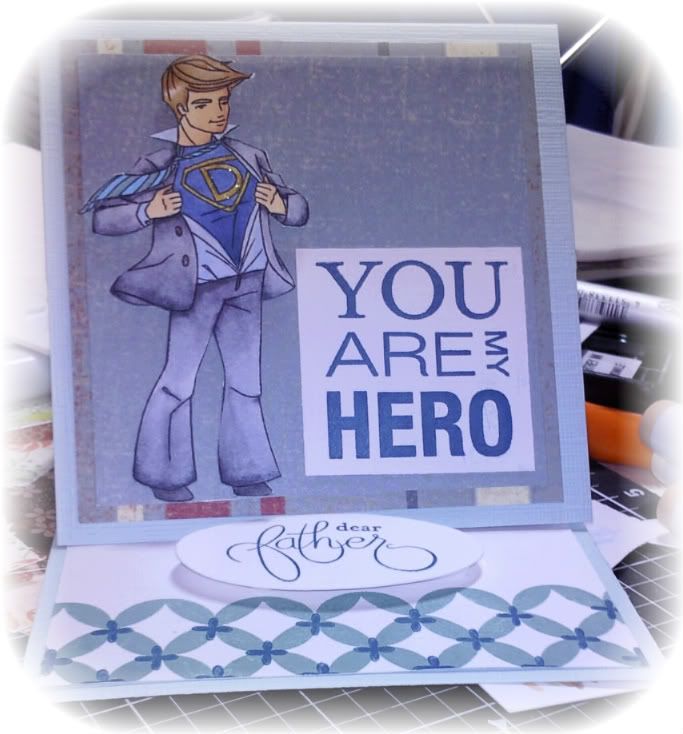
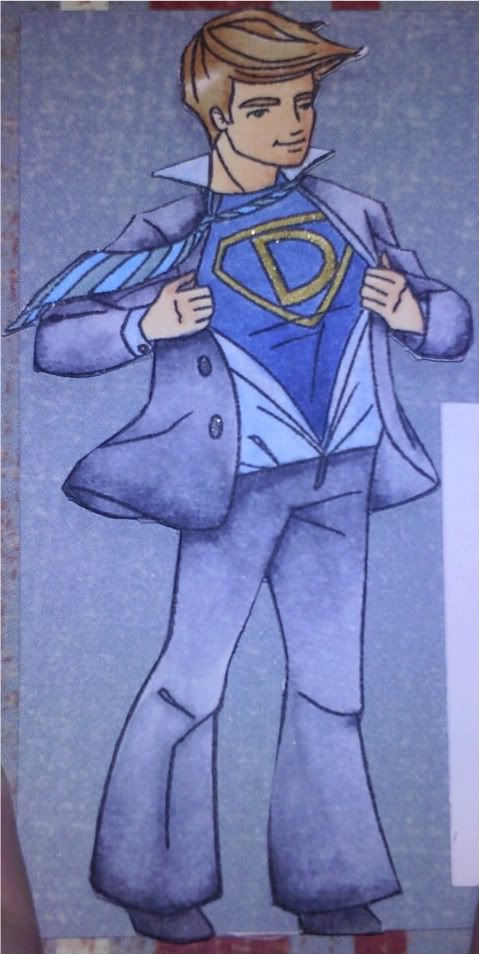
My final card is the Father's Day card I posted last week as I believe these last two cards truly show "Me."  I truly love this card as well especially how the suits ended up as coloring them was so much fun!!
Recipe:
Paper: From my stash -Bazzill, PTI Stamper's Select White.

Card cut with Cricut 4x4 easel card.
Stamps: Lady Bug and Friends Dad, Dude or Darling?, CTMH You are my Hero, SU! Well Scripted. MTME Sensational Sentiments (Inside), Puckered Up Patterns


Ink: Memento Tuxedo Black, PTI Enchanted Evening.
Copics: again in order from top to bottom.
(E33, E31, YR00), (E21, E11, E00, E50), (110, C7, C5, C4, C3, C2, C1, C0, C00, Spica Silver), (B00, C1, C00, BG72), (B97, B34, B23, B21, Spica Gold), (N6, N4, N1).

Here is a close-up of Dad!  Isn't he gorgeous!  

I am so proud of how these cards turned out and I truly hope you enjoy looking at them! I just love coloring with copics and how they make me feel like a real artist! I hope you enjoyed these cards as I thouroughly enjoyed making them!!   Thank you for looking!